
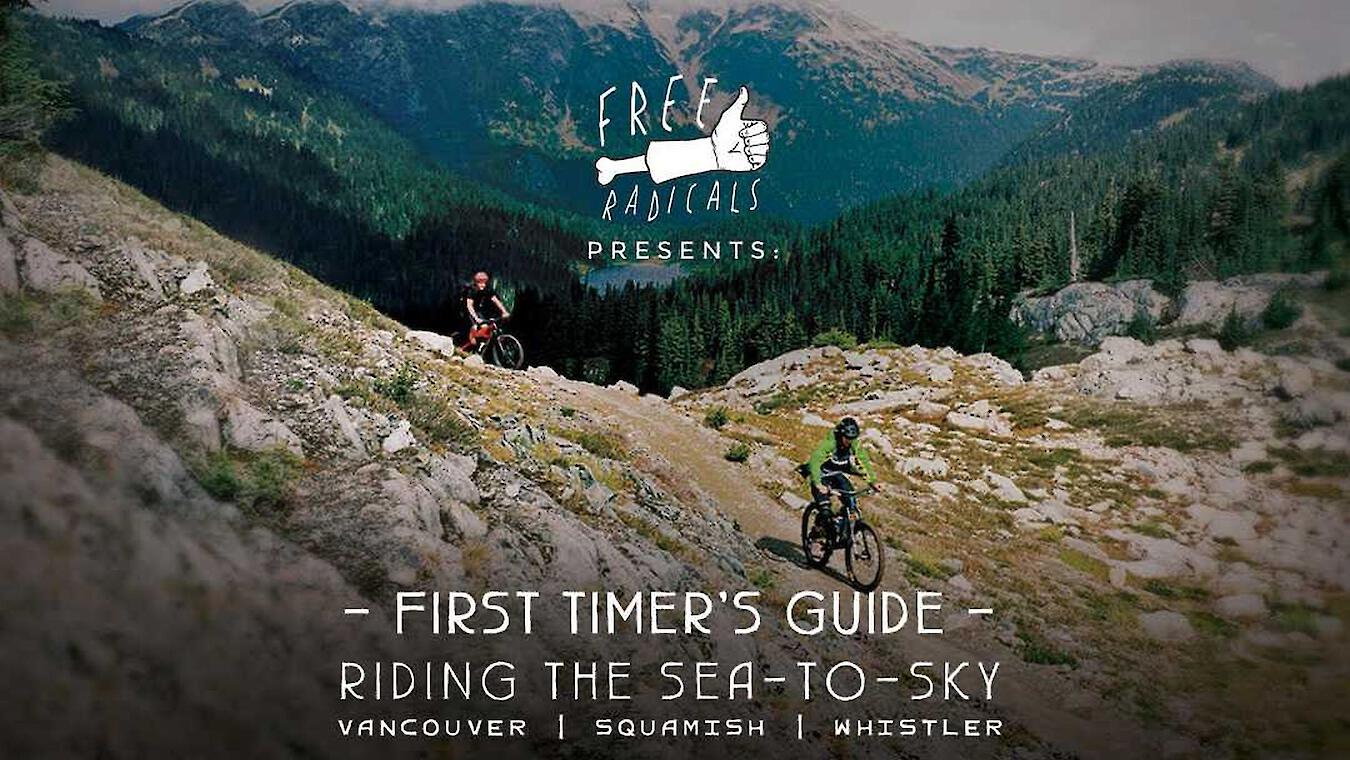
Riding the Sea to Sky: A First Timer's Guide to MTB Mecca
Too busy working, fixing your bike, and looking after the kids all week to plan your riding getaway this weekend? This series does all that work for you. We give you 4 different trip itineraries, each one showcasing a unique riding experience in the Sea to Sky. Every itinerary is designed for a different type of rider and a distinct experience, they are curated around a 3.5 day get-away and are designed to be “grab and go”. We aren’t taking bribes or getting paid by businesses to tell you what to do, we just live here, like these spots, and think you will too.
If you are already a “local” these might still be worth checking out, we could have some refreshing ideas for: rides, coffee, beers and apres eats.
In the first installment of Mountain Biking BC's Sea-to-Sky Trip Set we took a floatplane and spent 3 days camping and exploring the trails of the South Chilcotin Mountains. This trip was a wicked adventure, and one every self-respecting mountain biker should add to their bucket list, but we also understand that it is a tall order on your legs, lungs and wallet. This second installment, the First Time Visitor, is more attainable for the masses. This itinerary is for you if you are planning your maiden trip to the Sea-to-Sky, something you have been dreaming about for the last few years, but you are overwhelmed with the Pinkbike photos, rad videos, and the sheer volume of trails on Trailforks to choose where you want to go and what you want to ride. This guide is designed to help you focus your energy on some classic rides, with a mix of our local favourites.
Other locals may think we have missed some ‘obvious choices’ but we feel the trails selected give you a good balance of what is on offer between Vancouver and Whistler.
We highly recommend that a first time visitor plan their trip on the edges of the shoulder seasons as this will help ensure trail conditions are at their best, give you a break from peak season pricing and, avoid the smokey summers we've had lately.
HOT TIP: Avoid opening and closing weekend of the Whistler bike park as the lines are often out of control, unless of course you are into mountain biking for the lift line fashion show, rather than actual biking. There are also great deals on food and lodging during the early and late riding seasons. More on this below.
Trail Karma
Before you arrive, it would be pretty cool to pick up trail passes, or full-blown memberships, to NSMBA, SORCA and WORCA. These trail organizations are instrumental in the fundraising, permitting, construction and maintenance of the trails you are going to ride on your trip. Without them, these networks would not be as great as they are.
Day 0
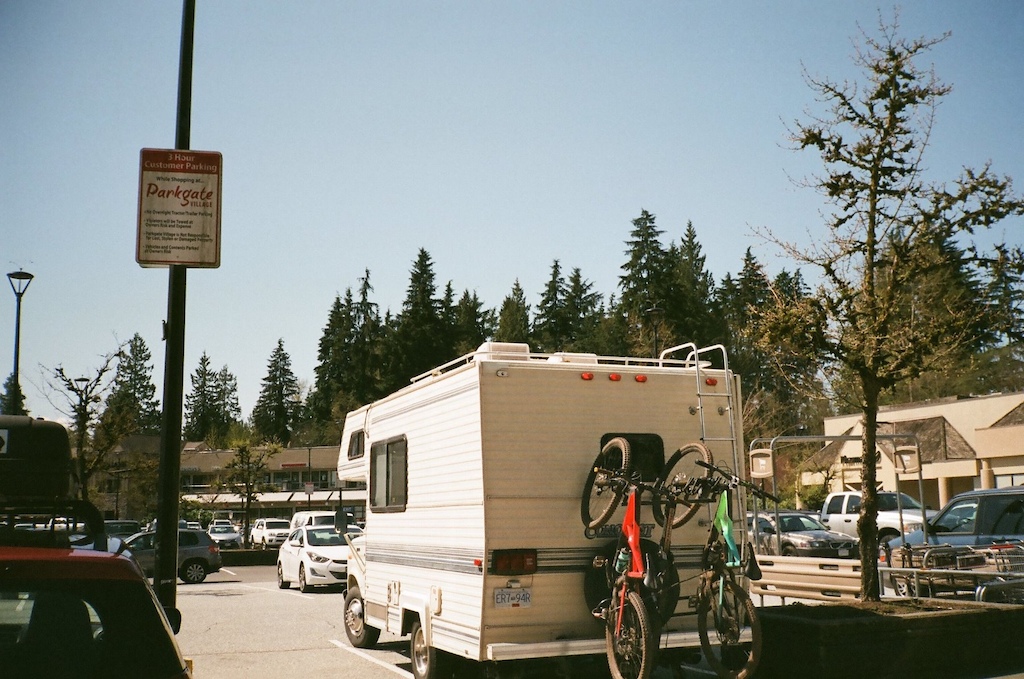
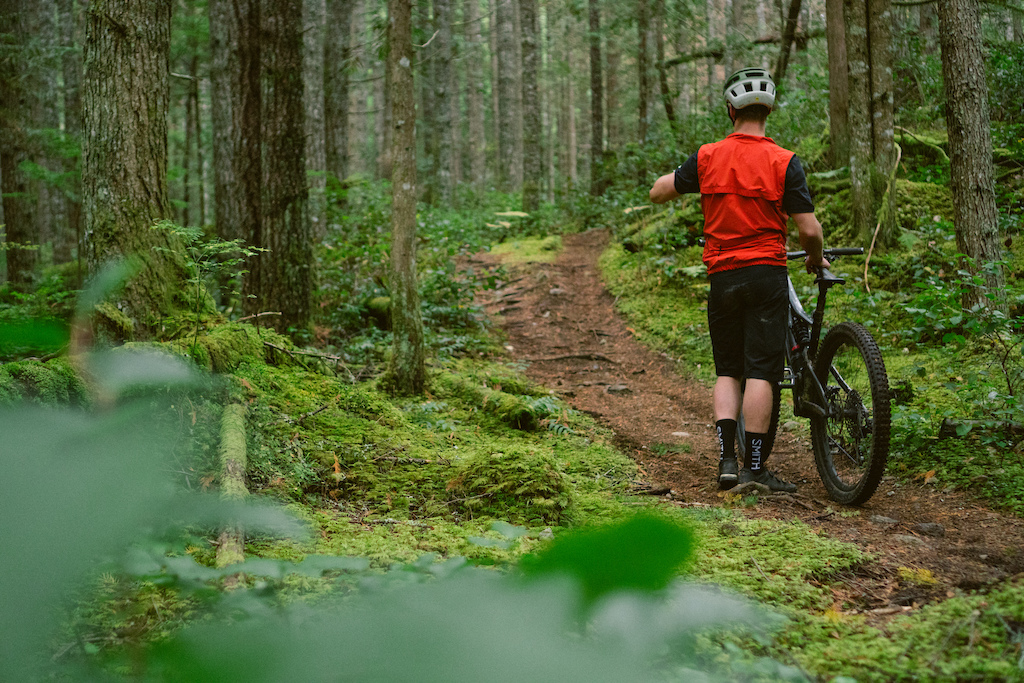
If you arrive in Vancouver before 2pm, don’t waste a minute, get your butt over to Mt Seymour and start riding! Bridge traffic from Vancouver to the North Shore can start piling up as early as 2:30pm and last until 6/7pm, best to cross early to beat the congestion. Save any bike building faff you may have to do for the parking lot on the north side. The usual staging area is the Old Buck parking lot, but this is often rammed with cyclists, dog walkers and hikers. To avoid some headache you can park at Parkgate Village, where you can also find all the necessary pre and post-ride amenities.
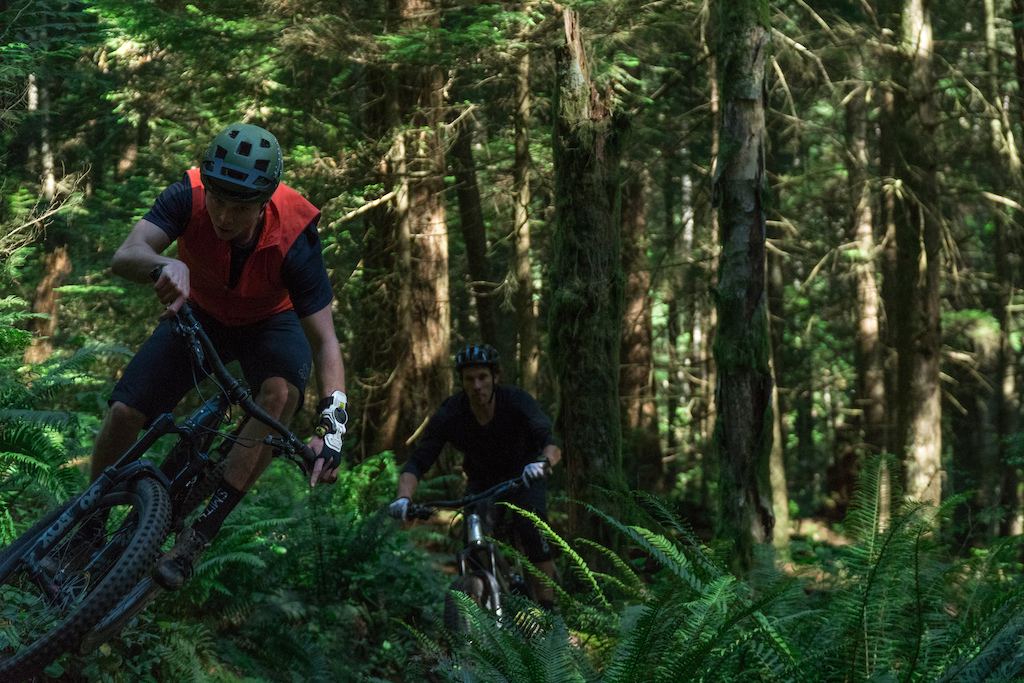
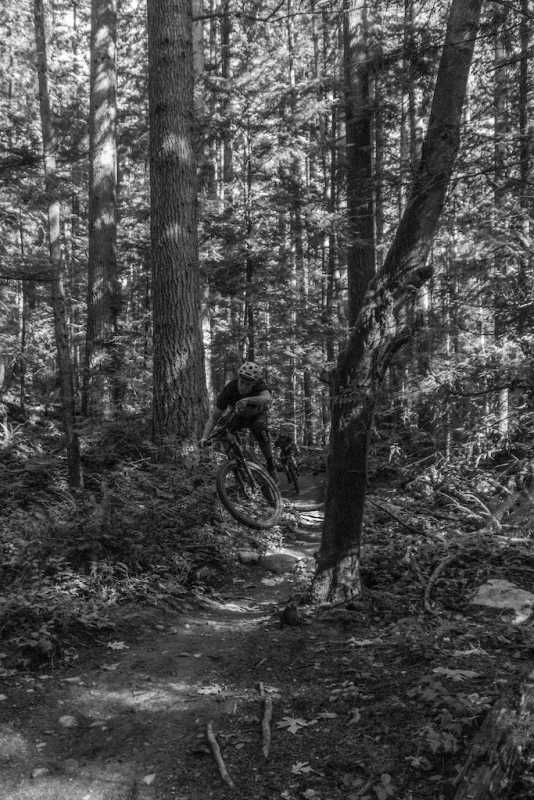
At this first location, on the historic North Shore mountains, we direct you towards some modernized shore trails, rather than the traditional “North Shore Jank”. Google search “A message to Cam McRae and Pete Roggeman” for one American visitor’s outlook on the jank trails of the North Shore. Hopefully after reading this you will laugh, and understand why we chose the trails we chose. Check out the Trailforks route for our suggested Seymour ride. Shoutout to the one of the biggest Seymour locals, taylsdee, for his trail input.
First Time Visitor - Day 0 on Trailforks.com
It is highly likely that you will be very hungry after this ride, as moments into your ride you likely discovered that climbing on the shore is steep! Check out our Google maps route for some suggestions on post-ride beer and food that are en route to Squamish, where we suggest you stay the night. Our personal go-to is a spicy tuna donburi from Sushi Town on Marine Drive which is often good for a meal and a snack, the damn thing must weigh 3 lbs. Grab some grub and some beers, and make your way to the Alice Lake Campground. Be sure to book your site, for two nights, ahead of time as this area can fill up quickly.
Day 1
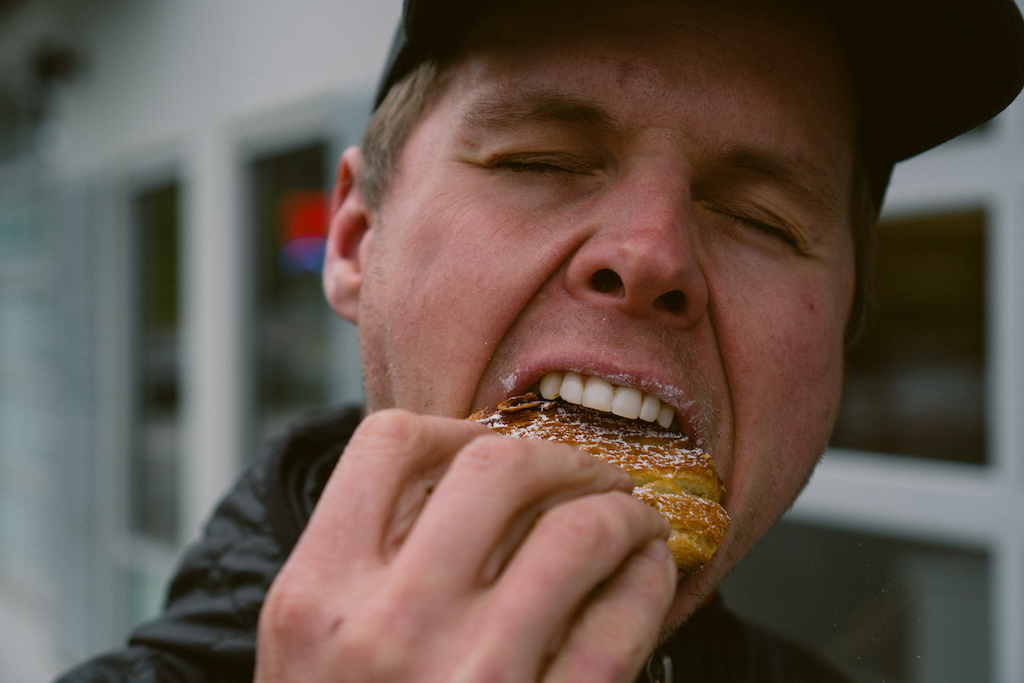
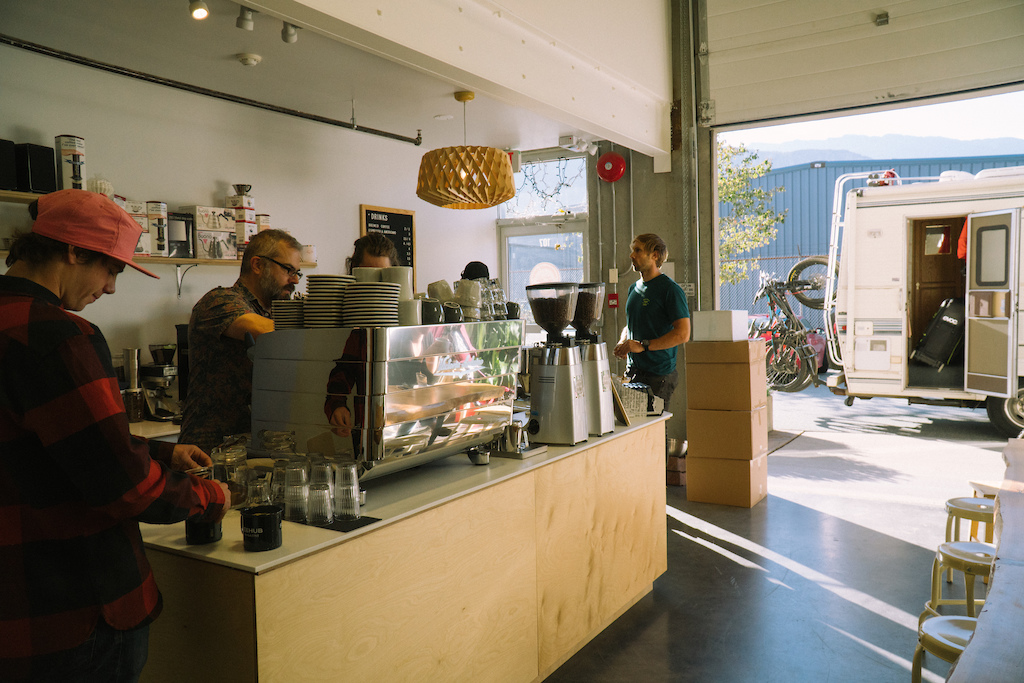
Wake up at Alice Lake Campground and pack up your bikes and gear before heading into town for a proper coffee at Counterpart, they are a killer local roaster with great single origin coffees. You receive a free espresso or americano if you buy beans, but be sure to get it “for here” so you get a little sweet treat on the side. Counterpart has graciously extended a discount to all readers of this itinerary. Full details in the food and drink section. Follow up your coffee with a true lumberjack breakfast at Chef Big D’s in the old downtown of Squamish.
After breakfast, it’s time to hit the trails. Do one last check of your kit list and ensure you have everything. If something is missing, or you flatted yesterday, check out Corsa Cycles just down the street from Big D’s. They might be the best stocked shop in the corridor, they also do suspension service, and bike rentals if you are feeling under-gunned. Once you are kitted up, make your way to the Lower Legacy trailhead, where you will start your first Squamish ride. Full ride details for the morning are outlined in the Trailforks route below.
First Time Visitor - Morning Day 1 on Trailforks.com
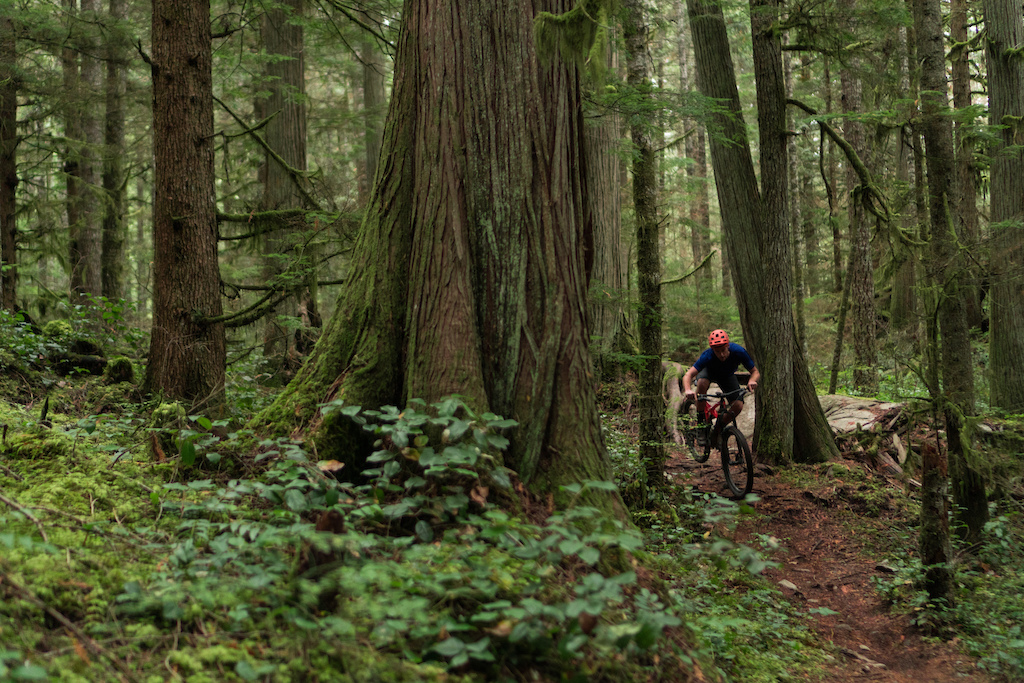
Post-ride, roll down to the Locavore food truck for some fresh grub to refuel before heading back to Alice Lake for your second ride of the day. This ride is world-class and includes two of our favourite feel good trails. With some of the best berms in Squamish and some fairly higher speed tech sections to keep even more advanced riders on their toes, Man Boobs and Credit Line are not to be missed. Shoutout to Dakota and Andrew for rebuilding these trails back in 2016. You may remember hearing of Credit Line as it is featured in the Pinkbike Hot Lap series. Watch local hotshot Remi Gauvin lay down a heater here.
First Time Visitor - Afternoon Day 1 on Trailforks.com
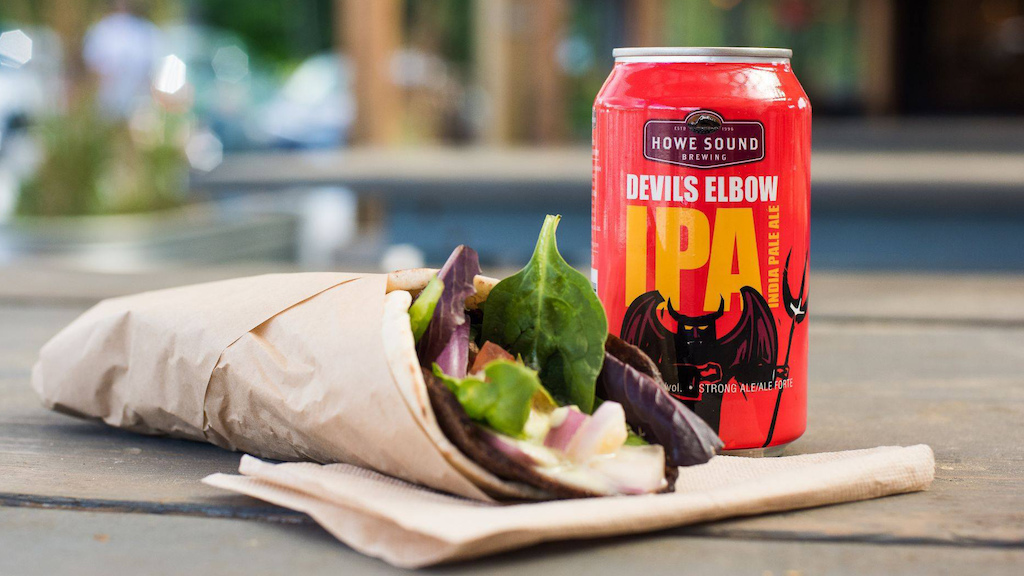
After your second ride of the day you are liable to be pretty hungry, so bomb down to Backcountry Brewing, where we have arranged a rad pizza and beer deal for all readers. It’s $19 for a full pizza and a delicious craft beer just by showing the coupon and mentioning MTBBC. Full details in the Food and Drink section below. Don’t forget to fill a growler or grab some beers on your way out to drink around the campfire later.
Tonight you are going to stay at the Alice Lake Campground again, provided you remembered to book two nights in advance. This campsite is nicer and more affordable than what’s on offer in Whistler.
Day 2
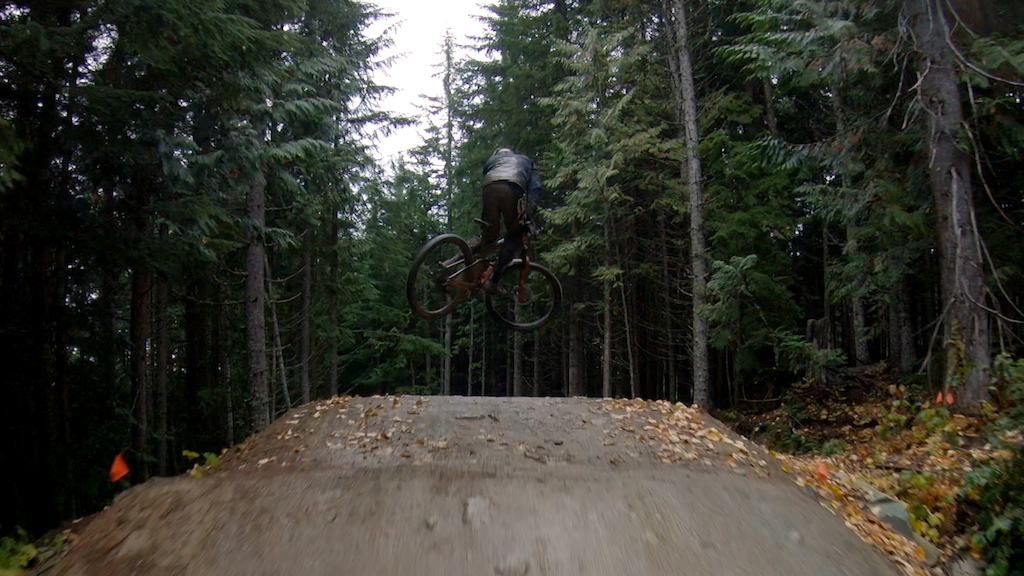
This is the day you have been waiting for since you first matured into a keen mountain biker, this is your first day riding the Whistler Bike Park.
Wake up around 7, if you even managed to sleep, and either cook breakfast at camp, or just smash coffees, pack up and pile into your car bound for Whistler. The drive from Alice Lake to the Riverside Campsite in Whistler takes ~40 minutes, and the chair starts spinning at 10am, so if you want to set up at Riverside before you ride while still catching first chair, best make haste. If you opt out of cooking breakfast, your first stop in Whistler should be Mount Currie Coffee for a quick breakfast sandwich or burrito, and maybe another coffee.
Ideally, you roll straight to Riverside as opposed to jamming your car into one of the day lots, don’t worry Riverside is just a short ride to the bottom of the chairlift. This move could also save you some coin as lots 4 and 5 have transitioned to pay parking between June 15-September 15, if your trip falls within those dates.
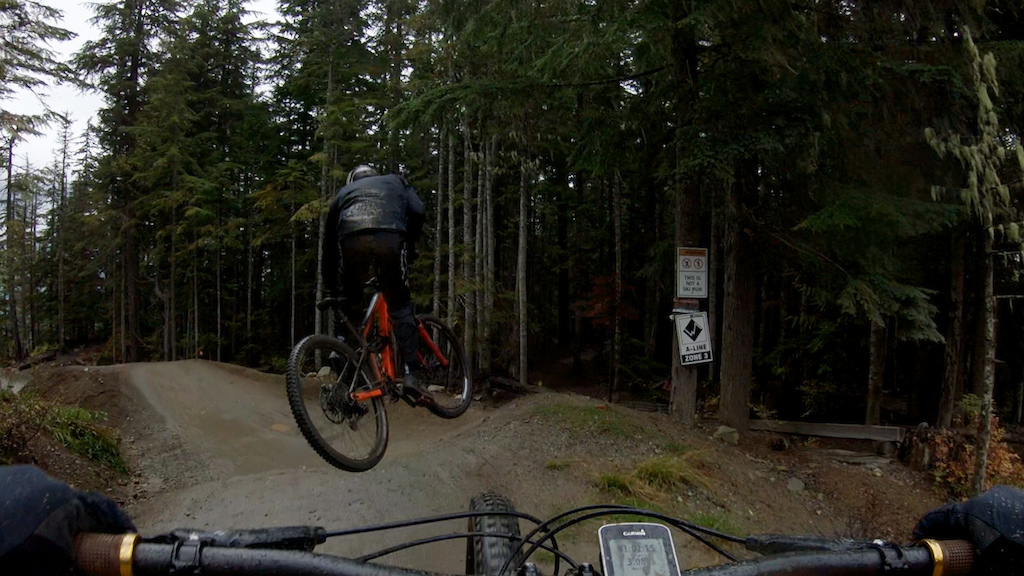
Believe the signs: Pre-ride, re-ride, freeride is a real thing. Although the trails in the bike park are expertly constructed, the style and sheer speed involved does take a few laps to wrap your brain around. Take it slow and don’t be that guy/girl who gets carted off the mountain on their first lap.
First Time Visitor - Warmup Laps Day 2 on Trailforks.com
Don’t miss Creekside! The Grandest of Openings of the Creekside Zone happened in the spring of 2018, with 5 new trails, 644m of vertical and its own gondola. Creekside is a great way to maximize your riding and beat the lines of the village, just don’t miss the last upload or you are facing a crummy road ride back to the village.
Once your hands resemble claws and you cannot comprehend riding anymore, a beer is pretty nice. Skip the expensive pints of Kokanee Gold in the Whistler Village and head to Handlebar in Blackcomb Village. They have an ever-changing selection of BC Craft Beers and a menu of German inspired street food to snack on. Cash only so prepare accordingly, but if you forget there is a free ATM inside. Their first happy hour runs from 5-6pm and the second is 10-11pm.
Some people need more than the German street food and beers after a day of riding the bike park. If you are one of those people, and you do manage to be travelling during the shoulder season, there are tons of killer fixed-price meal deals run by all the local restaurants in the village. Our favourite is Quattro as it provides a mean post ride 3-course, Italian feed.
Day 3
You managed to escape the bike park unscathed, congrats! It’s likely a safe guess that you are pretty wiped from doing 15 laps on A-Line yesterday, but it’s time to dig deep for this last ride.
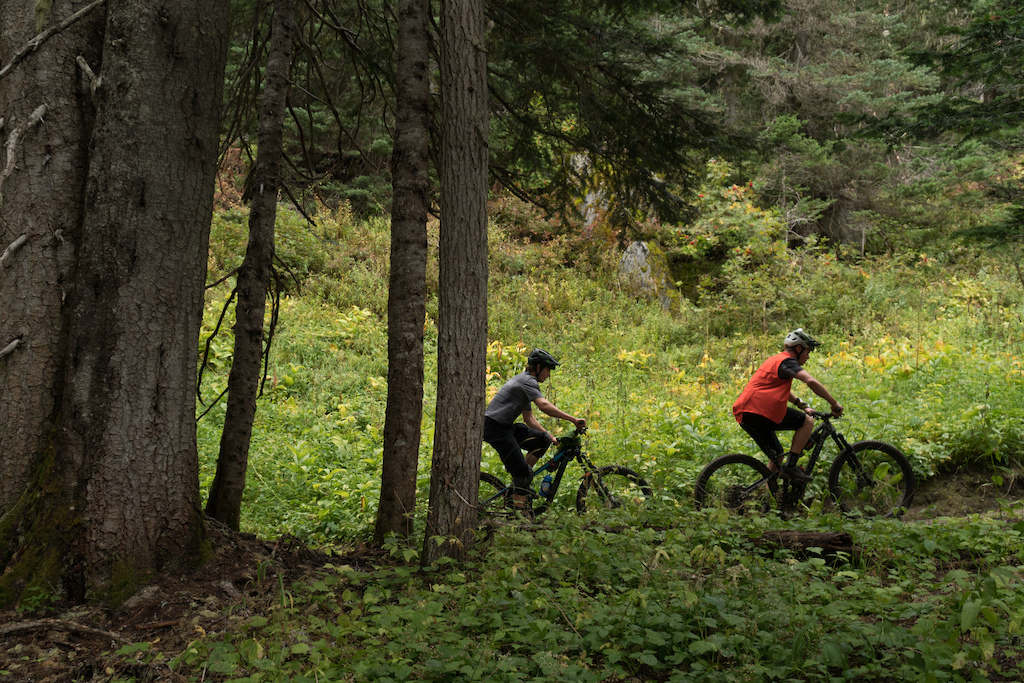
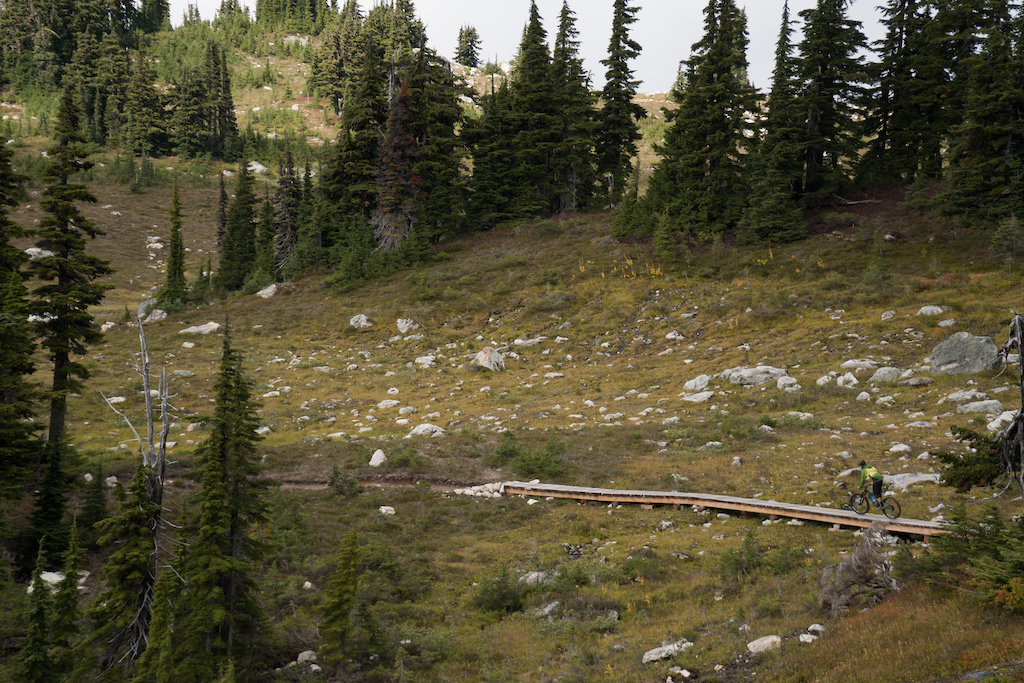
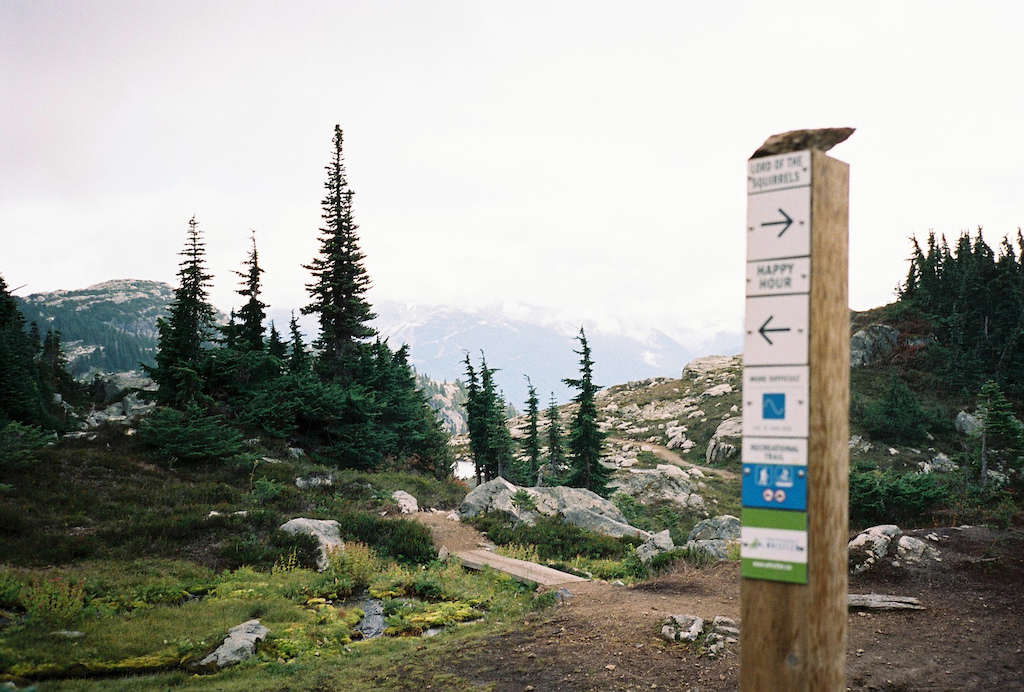
Whistler’s Westside is traditionally known for its technical trails, however Lord Of the Squirrels (LOTS) provides riders with some of the best flow outside the bikepark. Completed in 2016 by WORCA, LOTS became an instant classic thanks to its incredible views of the Whistler Valley and awesome 25+ minute descent. You will be disappointed if you miss this one.
All this being said, there are several things that should be considered prior to embarking on this ride.
1. Is the trail open? Be sure to check with WORCA or Trailforks to know if LOTS is open for business before embarking on your ride. The trail can be closed during the early/late season rains, or due to wildlife activity. Don’t be a dick, respect all trail closures.
2. Are you fit enough? This ride can take anywhere from 3-8 hours depending on your level of fitness, the return trip is ~30km in length and ~1800m of climbing, depending on your route up Into the Mystic. More details can be found in the Trailforks description below. If you are reading this and thinking to yourself that the stats are easily within your realm of abilities, and you might even need another ride to satiate your appetite, perhaps you should challenge yourself and try to beat our buddy Braedyn Kozman’s LOTS record, 2:20 return from the bottom of Stonebridge.
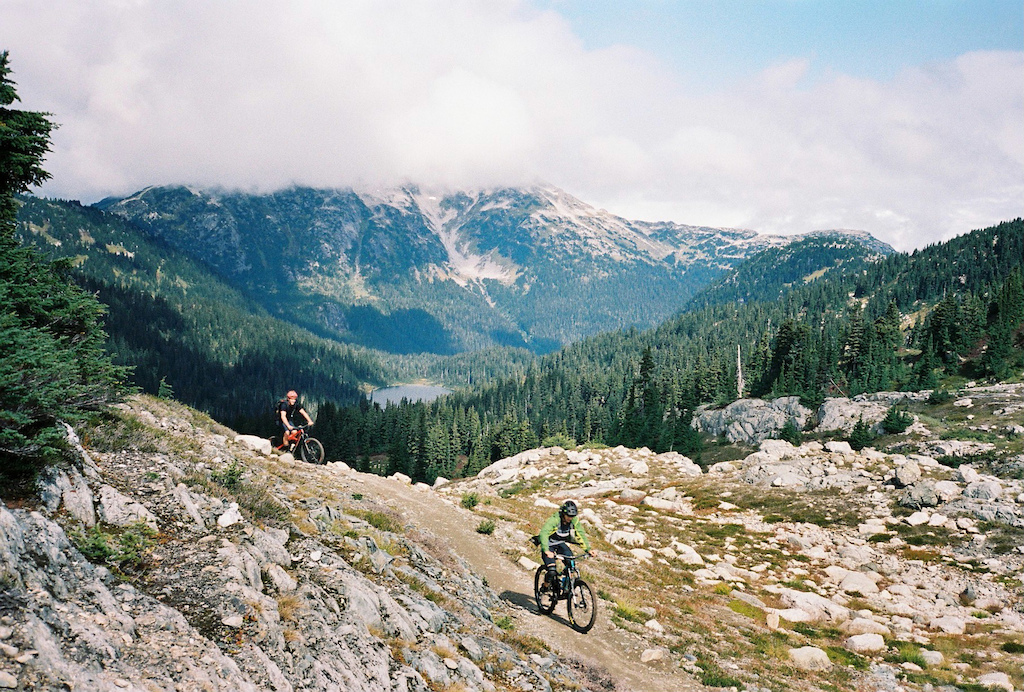
3. Am I prepared? This ride is the longest of your trip, with several hours spent above the tree line, exposed and at the mercy of rapidly changing alpine weather. Be sure to pack accordingly; jacket, spare parts and extra food/water are all recommended.
First Time Visitor - Day 3 on Trailforks.com
The ride is easily completed from town, although the ride back to the village can be shattering at the end of a long weekend. If you are going to be in a jam to get home at the end of this day, park at Rainbow Park off of Alta Lake Road to save yourself a bit of time and riding.
Bike selection and Setup
Full disclosure, we are sponsored by Specialized, so our bike selection remains limited to their offerings. For this trip Mark and I chose to ride different bikes, which goes to show the diversity of the trails in this region, but it also means that with a few small adjustments, or parts swap if you are die hard, many bikes can be adapted to be ideal for the Sea to Sky.
If you are graced with multiple bikes, we would suggest a mid-to-long travel (140-160mm) unit for this trip. The descents in this region, especially in Whistler have sustained steep, technical and rocky sections that will put your body and suspension to the task. A heavier duty shock, either an air with a piggy back or a coil is highly recommended, but not necessary. The terrain in this itinerary, especially on the North Shore, is rocky, so best to tension your wheels and make some adjustments to mitigate flat tires. Heavier duty, chunky tires, or a tire insert, or both if you really smash, would be good things to consider. Last thing you want to do is spend your holiday changing flats or buying tires. Special Note: Bike Park pressures are a thing, especially in the early season when the dirt is velcro-esque, so add a few extra PSI when riding in the park to help avoid flats and keep your tires on your rims because you will be hitting corners like Dave McMillan in no time.
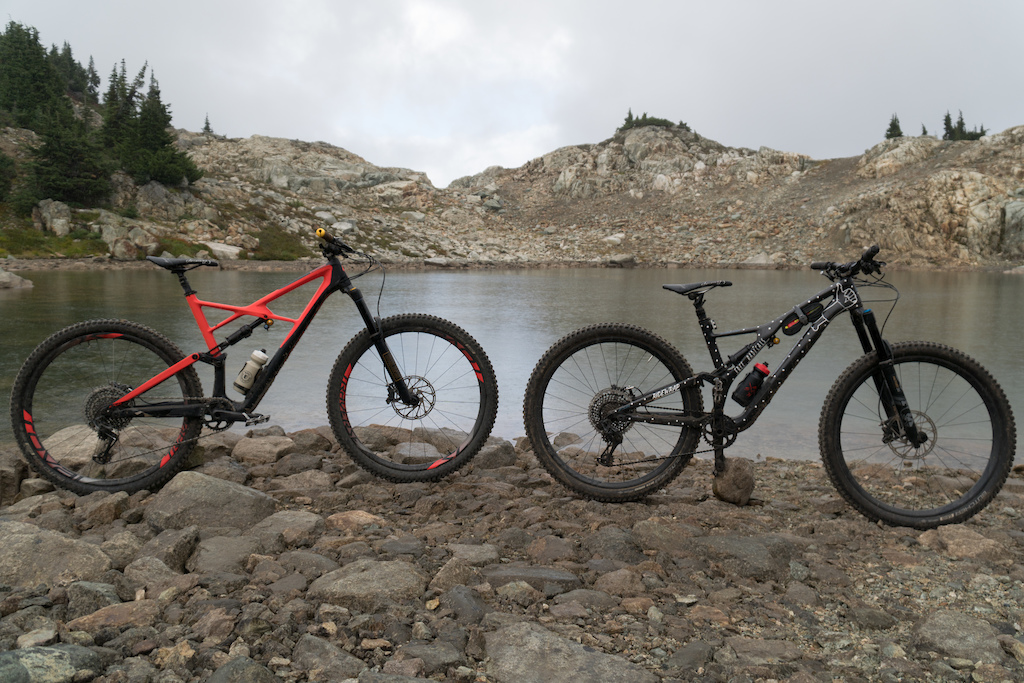
Mark rode his Enduro 29 (160mm front and rear with a 65.5 degree head angle in the low position). Running 29×2.6 Butchers with Grid casing (~900g) front and rear, a CushCore insert in his rear wheel and tire pressures sitting around 26F/28R for trail rides and 30F/34R in the bike park. Despite his proclivity for a good party, Mark is pretty fit, so lugging this longer travel sled on the ups is worth it for him on the downs. Plus, the added wheelbase length of the Enduro over the Stumpy provides welcome stability at bike park pace.
Will chose to ride his Stumpy for this Sea to Sky weekend (140mm rear and 150mm front travel with a 66.5 degree head angle in the low position). He swapped the stock Fox DPX rear shock for the new Ohlins TTX Air, as the more robust air spring and higher volume air chamber of the Ohlins give it a bit more resilience on the smashy descents. His svelte figure allows him to get away with lower tire pressures than Mark, with 22PSI in his 29×2.6 Grid casing Butcher and 24PSI in a 29×2.6 BLCK DMND casing Butcher, and no CushCore required with this heavy duty rear tire. For bike park laps. he ups his tire pressures to 28 PSI in the front and 30 PSI out back. Will prefers the playfulness of the smaller bike in the bike park as he is trying to graduate from a turn bar to a half decent whip.
Kit Essentials
Unlike our first backcountry itinerary, you are in civilization for the duration of your trip, so there is little you won’t be able to find if needed. If you are thinking you might need heavier duty tires, or a CushCore insert, hit up one of the MANY local bike shops in the corridor. As mentioned before, we would suggest Corsa in Squamish as they have one of the more extensive spare part inventories in the area.
One thing you won’t want to forget is your full face helmet and goggles, you are riding bike park on Day 2 after all.
We always carry a first aid kit on our rides, no matter how short, as you never know when your 2 hour ride will turn into a 5 hour ride. Our daily kit includes: InReach or SPOT emergency tracker device, tourniquet, hemostatic gauze, occlusive bandage, tape, epipen, painkillers, water purifying tablets, diarrhea medication, antihistamines, sunscreen and bug repellent.
It was already mentioned, but Lord of the Squirrels can be a long ride, with riders spending a long time exposed to the elements in the alpine. Bringing a light shell and some extra food, and if you are the kind of person who brings absolutely nothing on rides and just mooches off your friends, don’t do that this time. Pack some basics so you can still have fun if you do have a minor mechanical.

Food and Drink
Y’all are in for a treat this round. Several of our favourite local establishments in Squamish graciously arranged some meal deals specifically for MTBBC readers. Full details for each location below.
They are offering 15% off on all purchases over $15 just by mentioning MTBBC and the Free Radicals so be sure to stock up on all your coffee necessities.
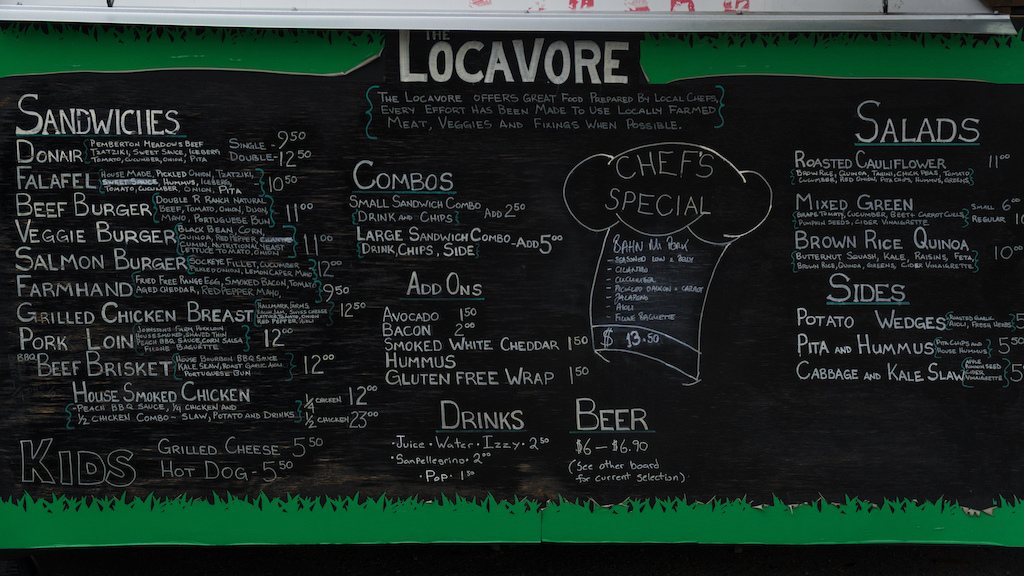
The Locavore is offering a pretty killer deal for your post Diamondhead ride lunch. Again please mention MTBBC and be prepared to show them the article on your phone.
Banh Mi Sandwich with side of Roasted Garlic Potato Wedges for 13.50$ plus tax No substitutions No combining with any other offer Up charge to make gluten free ($1.50) Up charge for any additional add-ons (ex. bacon/avocado/cheese $1.50-$2.00)
We love pizza. Who doesn’t love pizza? Especially with beer. Good, cold beer.
Show the coupon below and mention MTBBC to get their $19 pizza and a beer deal any night of the week. If you’re local, they offer this every Tuesday and Wednesday night.
 Accommodations
Both Alice Lake and Riverside are popular destinations, even during shoulder season. Best book in advance to secure your spot. Booking for each can be done by clicking the links you just read. Before setting a campfire, be sure to check what the fire-ban status is in your area. Fire-bans are set at the municipal level, so they can be different in Whistler and Squamish. Even if it has just rained, there can still be a fire-ban.
If you don’t like camping, the local tourism boards have good information on local accommodations that fit most needs and budgets. If you happen to have convinced someone who doesn’t mountain bike to travel with you while you attempt to complete these itineraries, these websites also have some pertinent information that will help keep them entertained while you are shredding.
Vancouver North Shore, Tourism Squamish and Tourism Whistler
If you thought this article was half decent, and maybe even learned something, check back in a few weeks for the next installment of MTBBC’s Sea-to-Sky Trip Set where we will give you some intel on our favourite Frontcountry Adventure rides in the corridor.
This article series will provide you with the knowledge to complete a host of different trip types all within the Sea to Sky corridor where the ultimate bike trip is mapped in single track.
Check out the other stories in this series:
- Backcountry Adventure in the South Chilcotins
- The Other Shore: An Insider's Guide to Riding the Sunshine Coast, Squamish, and Whistler
- A Front Country Adventure in BC's Sea-to-Sky Corridor