

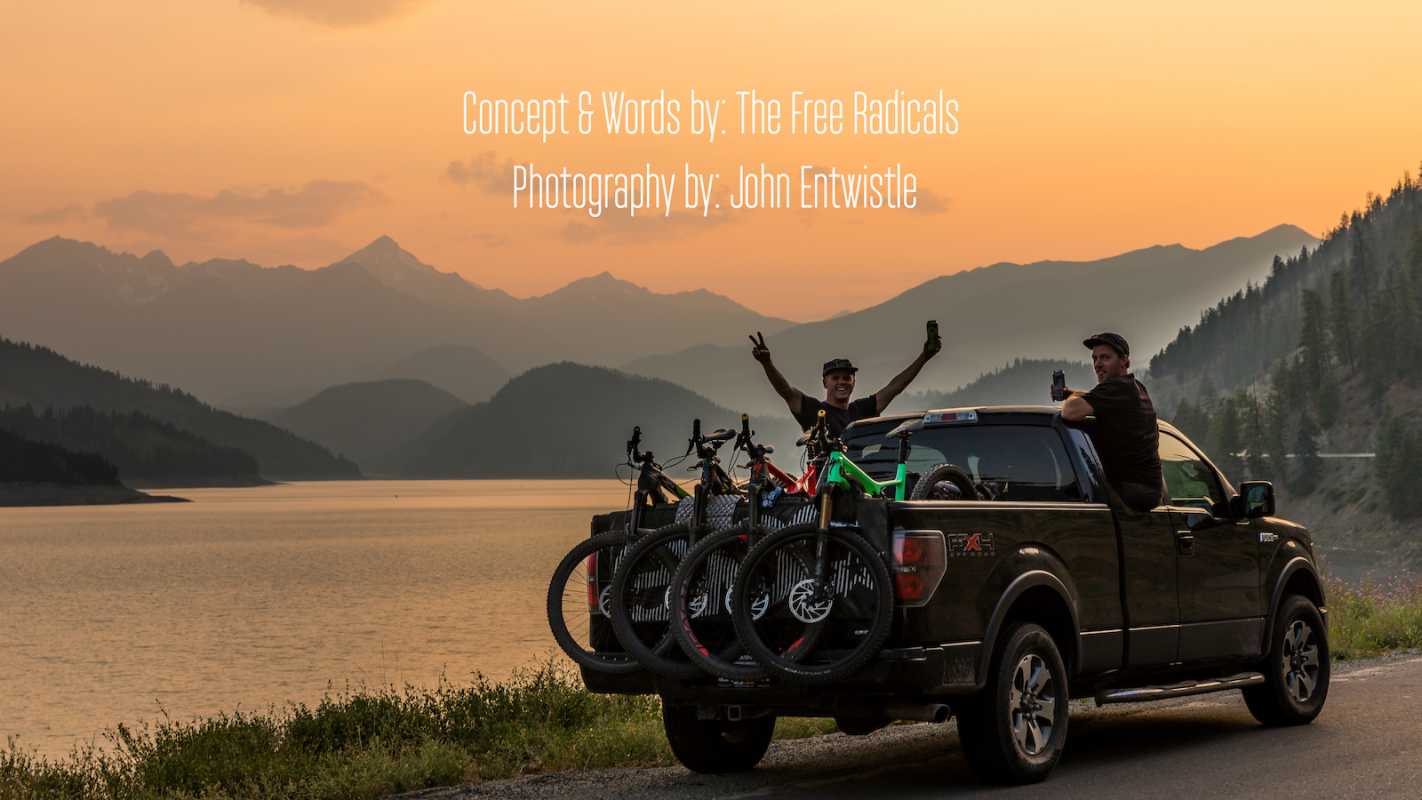
Backcountry Adventure in the South Chilcotins
Too busy working, fixing your bike, and looking after the kids all week to plan your riding getaway this weekend? This article series does all that work for you. We give you 4 different trip itineraries, each one showcasing a unique riding experience in the Sea to Sky. Every itinerary is designed for a different type of rider and a distinct experience, they are curated around a 3.5 day get-away and are designed to be “grab and go”. We aren’t taking bribes or getting paid by businesses to tell you where to go, we just live here, like these spots, and think you will too.
If you are already a “local” these might still be worth checking out, we could have some refreshing ideas for: rides, coffee, beers and apres eats.
First up, the backcountry adventure. If you are an experienced to expert level rider looking for an adventure, aren’t scared of long 6-8+ hour rides, logistics and being self-sufficient, this trip is for you. Overnight camping skills are essential. Wilderness and backcountry experience is highly recommended.
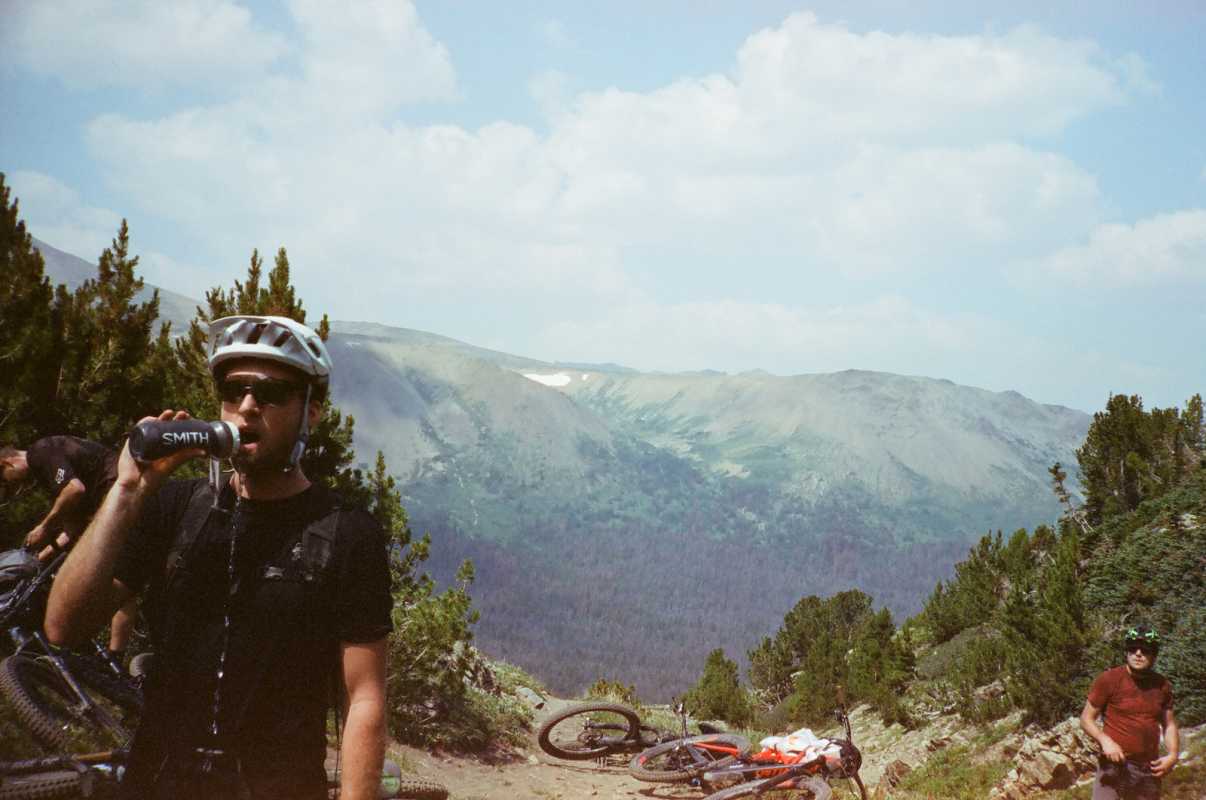
The first installment of the MTBBC Sea-to-Sky Trip Set takes us to the South Chilcotin Mountains. This area is the sky frontier of the Sea-to-Sky and the corridor’s premier wilderness destination. Access to this region is seasonally restricted by snow, with trails typically being clear and dry by late June/early July and remaining free from snow until early-mid September. Be sure to check Trailforks for up-to-date trail beta.
If you are a regular reader of Pinkbike, you are no stranger to the adventures of the South Chilcotins, the photos and stories from this site were the motivating factor behind our excursion. With this itinerary, we are not trying to reinvent the wheel or claim what we are doing has never been done before, but we do feel there is an absence of detailed, clear, written information on how to pull off an affordable trip in this stunning area. So here is our best shot.
BUT FIRST AN IMPORTANT PUBLIC SERVICE ANNOUNCEMENT
As recently as 2011, mountain biking was nearly banned from the South Chilcotin Provincial Park, due to concerns of excessive trail erosion and potential conflicts between hiking, biking and equestrian user groups. It is a privilege to have mountain bike access to these trails, so don’t be a dickhead. Please pay your dues before heading into the park. A Trail Karma donation to the Bridge River Valley Community Association does make its way back to trail maintenance.
Backcountry Trail Etiquette
• Stay on trail: Avoid cutting corners or leaving the marked trail, you are riding in a provincial park after all. The park has a strong conservation mandate within their Management Plan and creating trail braids or riding shale lines is a departure from this and could lead to limited mountain bike access in the future.
• Ride to the trail’s condition: Avoid skidding, roosting, riding the trails when they are very wet, or causing any unnecessary damage. These remote backcountry trails do not receive the regular maintenance that A-Line does, so please ride, don’t slide.
• Be prepared: Don’t be that person who needs to “borrow” a tube, or half of someone’s snacks. Be self-sufficient and bring the proper gear or you might end up being that person in the news who called Search and Rescue for a dumb reason. There is no cell service, so be sure to inform others of your route before you leave and have an appropriate emergency response device.
• Be Bear Aware: You are in Grizzly country, these aren’t your Whistler Garbage Bears, so refresh yourself on how to behave around these animals. Oh yeah, there are wolves and cougars too.
• Don’t be a litterbug: Pack out what you bring in and use pit toilets when available, but in an emergency be sure to bury your poop.
Remember, you aren’t in the bike park this weekend. You are several hours away from your car so come prepared.
Day 0
Leave Vancouver for Tyaughton Lake; the drive takes roughly 6 hours without stops or traffic, so prep those playlists and pack some snacks. Best to pre-portion and package your food for every day before you leave. Bulk Barn and Persia Foods in North Vancouver both offer great selection and value.
Check out this Google map for full driving directions, and some good pit stop suggestions.
Before passing through Squamish be sure to review your bike kit list. If you have forgotten something, stop in at CORSA Cycles, they are a well-stocked shop just off the highway. If you don’t remember to do this until you are past Squamish or even Whistler, your last chance for bike parts is at Bike Co in Pemberton.
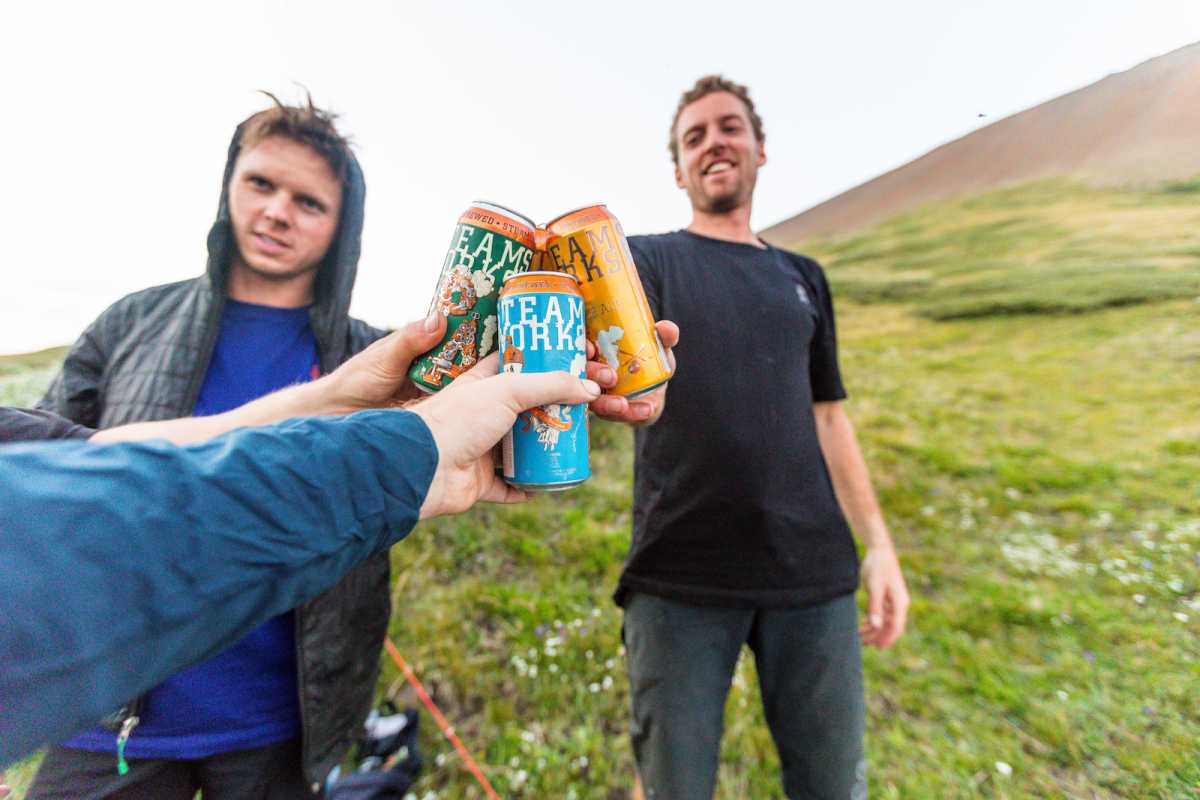
Lillooet is your last chance for food, beer, and gas. Totem Chinese is our choice for dinner. A classic Canadian Chinese Cafe with generous portions and an all you can eat buffet.
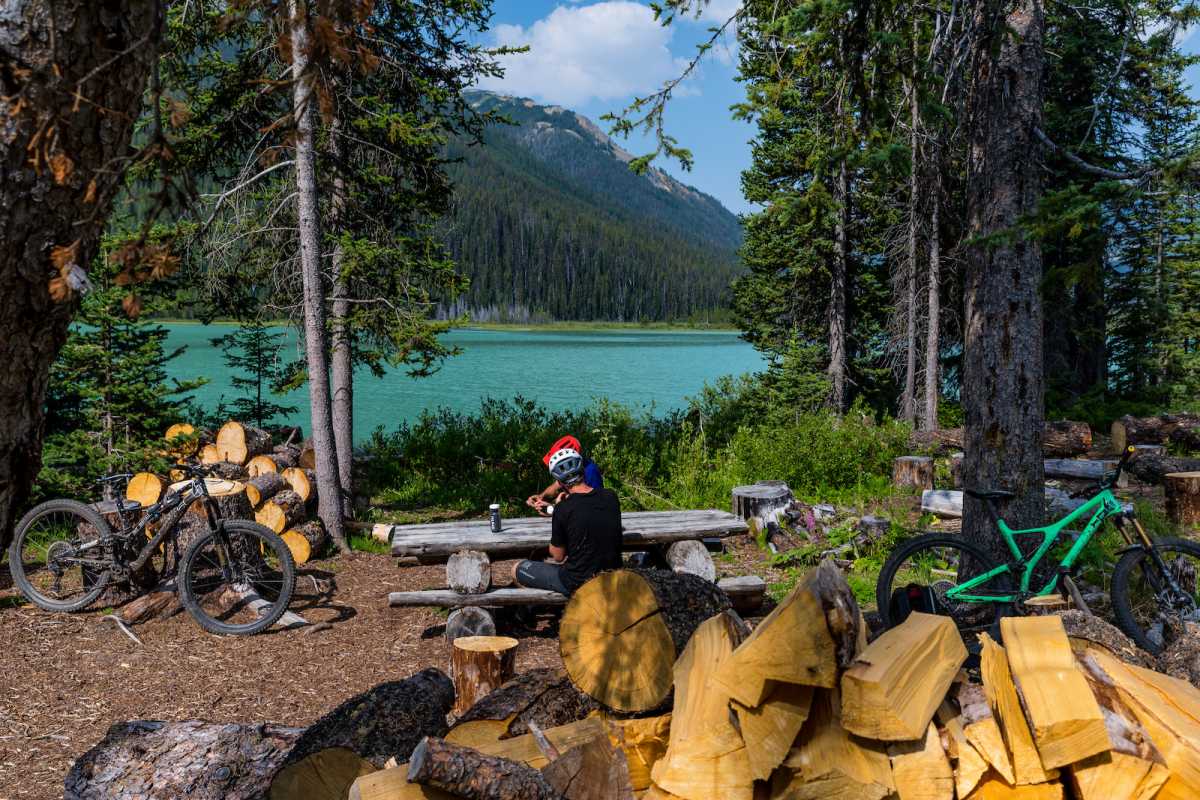
There are a number of free forestry campsites near Tyaughton. Friburg Rec Site is the closest to the lake, but also the smallest and generally busy on weekends, so try to arrive early. Don’t worry if there is no room when you arrive at Friburg, there are three other campsites at Mowson Pond, just a few kilometres back towards Carpenter Lake.
Day 1
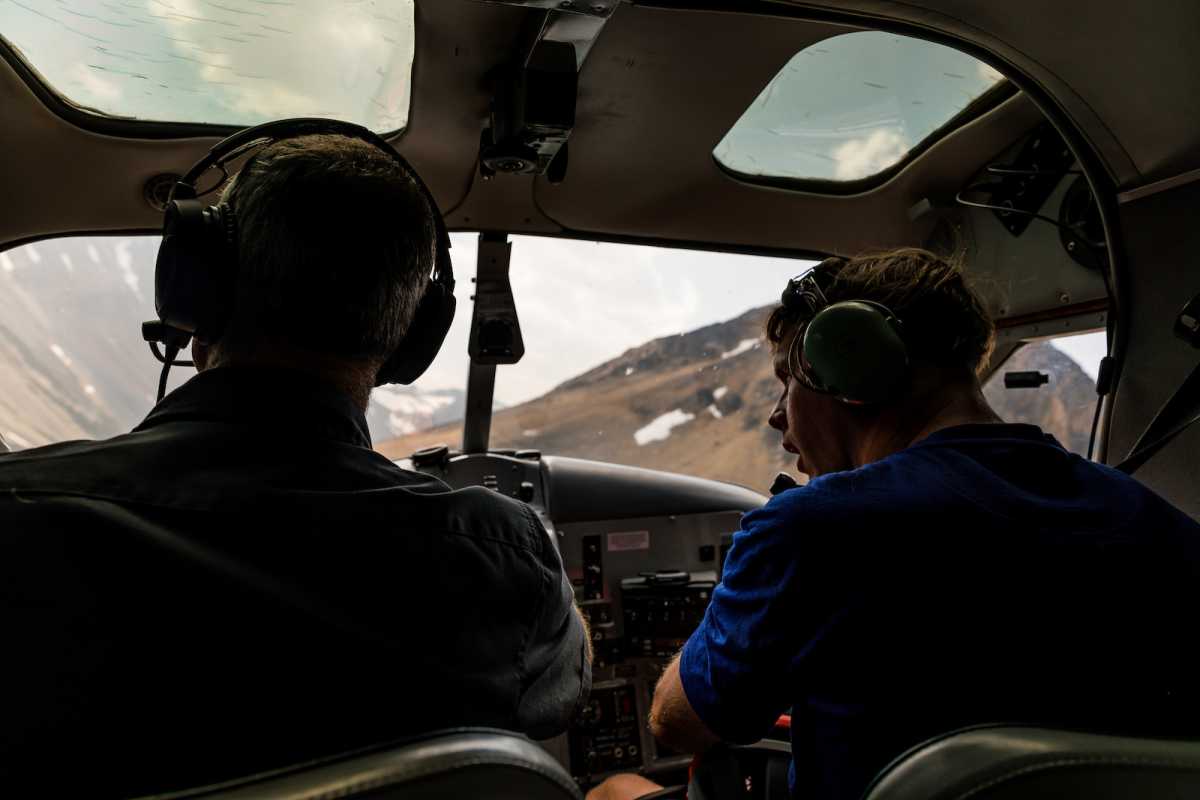
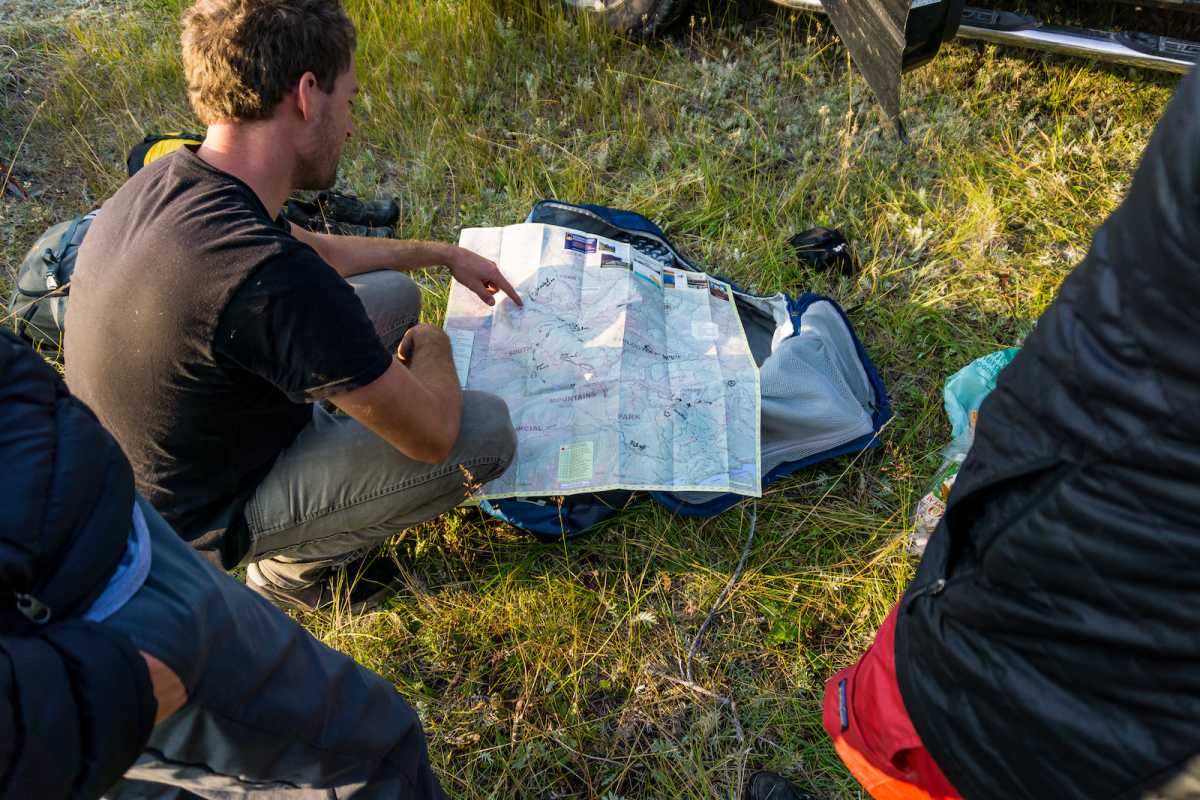
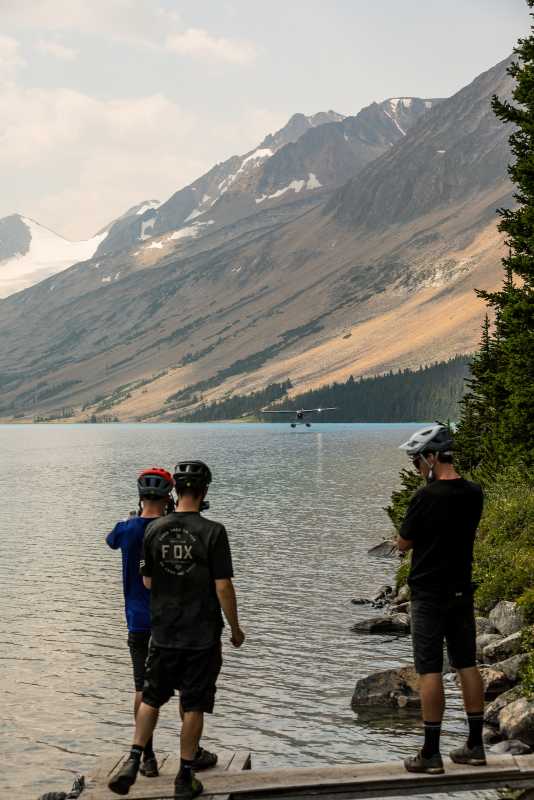
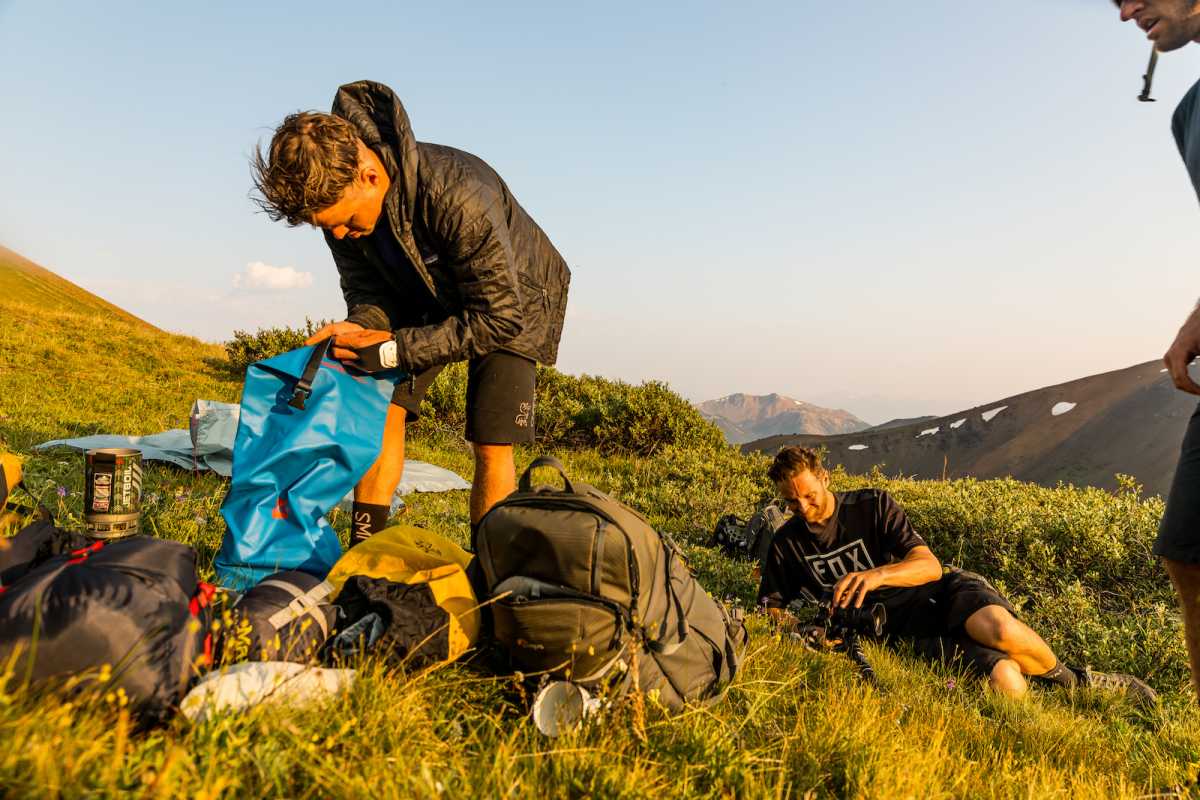
You can access the trails in the South Chilcotins via shuttle then a pedal, but we really feel that the floatplane experience is worth the spend. Our flight from Tyaughton to Lorna lake was $1298 CAD, or $325 CAD per person for the four of us. It is a bit cheaper if you fly on a weekday, and if you pack lightly you could maybe squeeze in a 5th person and bring down the cost per head. If you are planning on going over a weekend, book your flight at least a few weeks in advance as the earlier morning flights seem to book quickly.
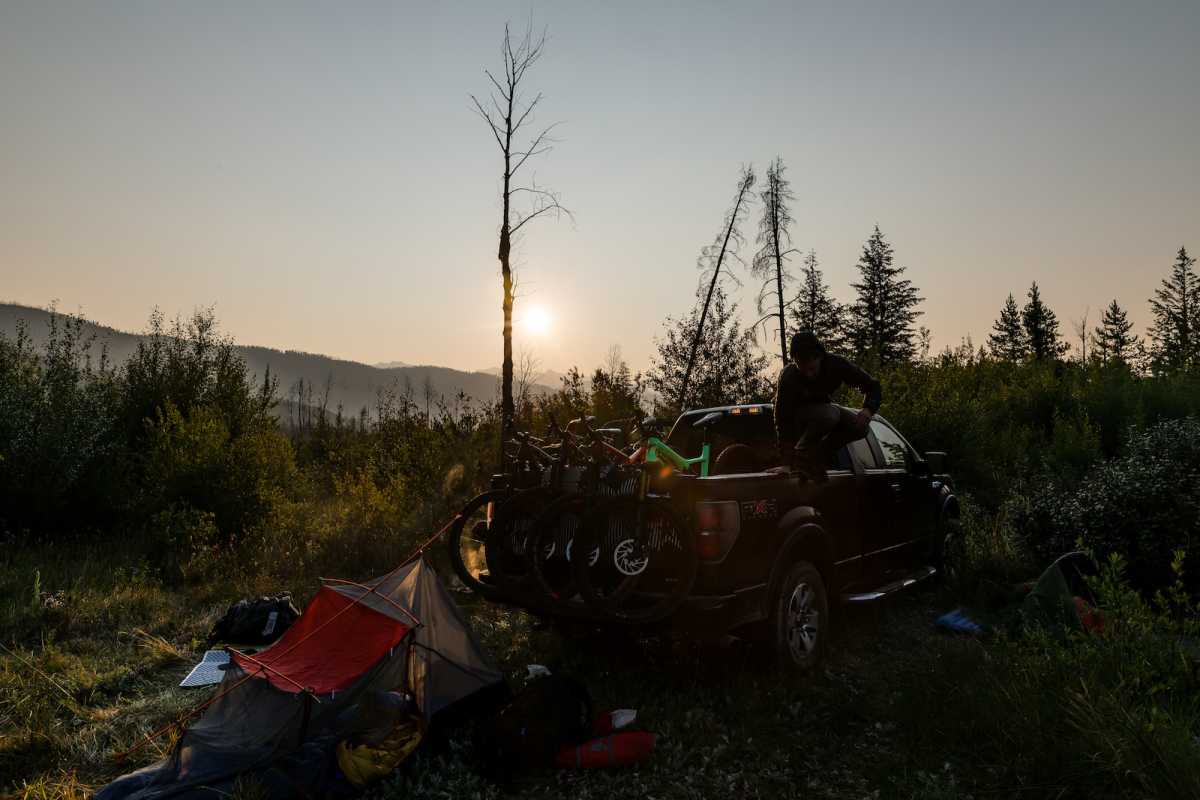
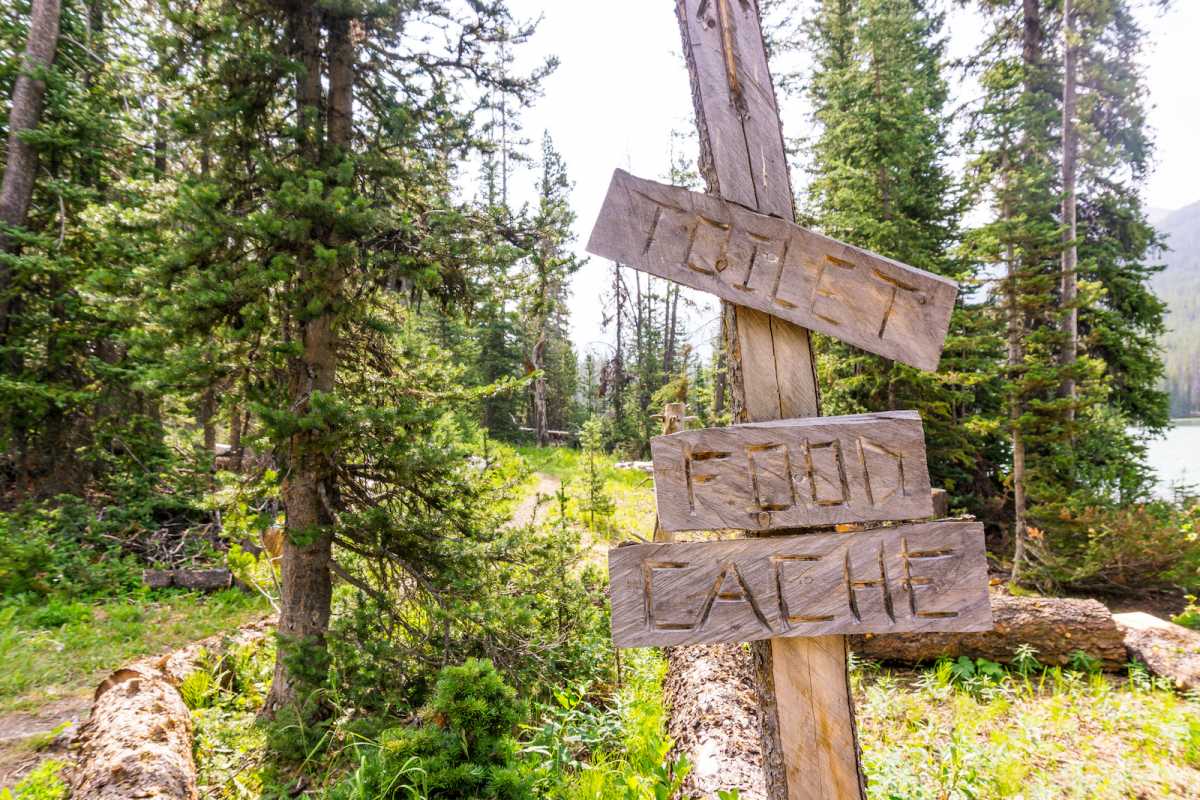
Check out the Trailforks route for trail directions and your day one Campsite at Hummingbird Lake. Pit toilets, a food cache, and great swimming await.
Backcountry Adventure - Chilcotins Day 1 on Trailforks.com

Backcountry Adventure - Chilcotins Day 2 on Trailforks.com

Day 3
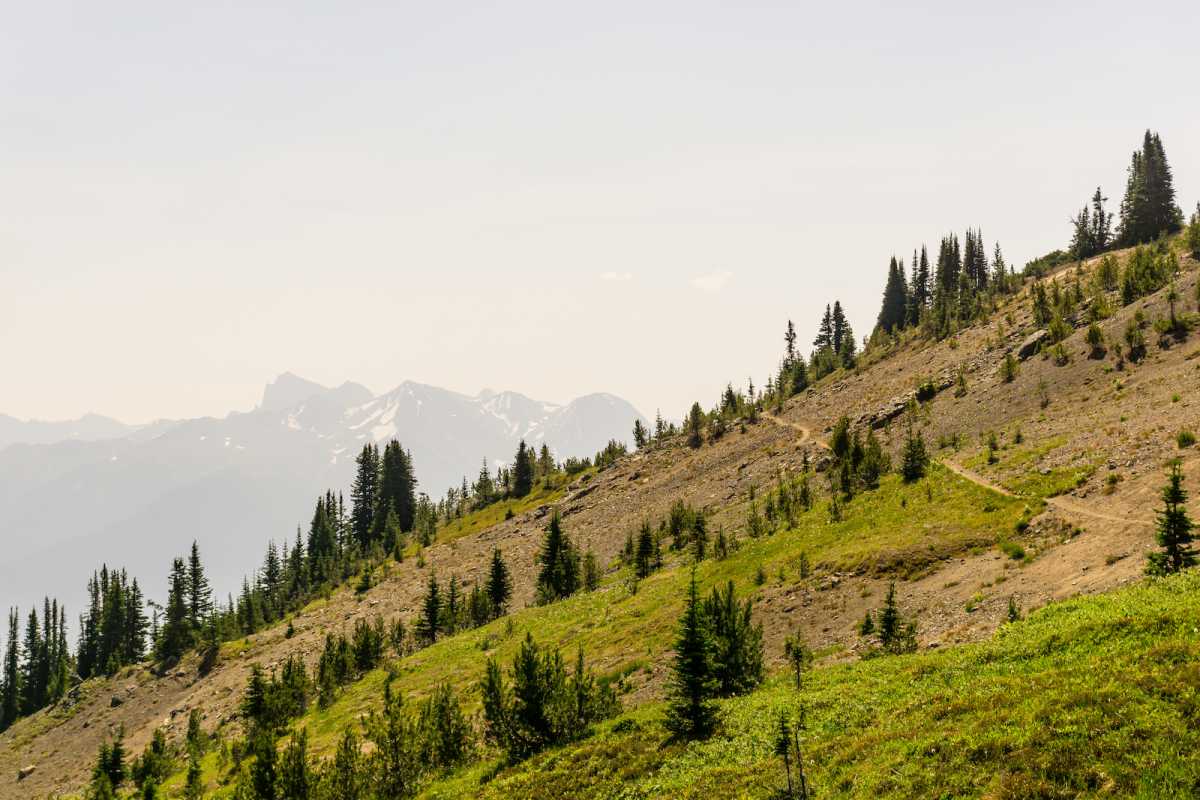
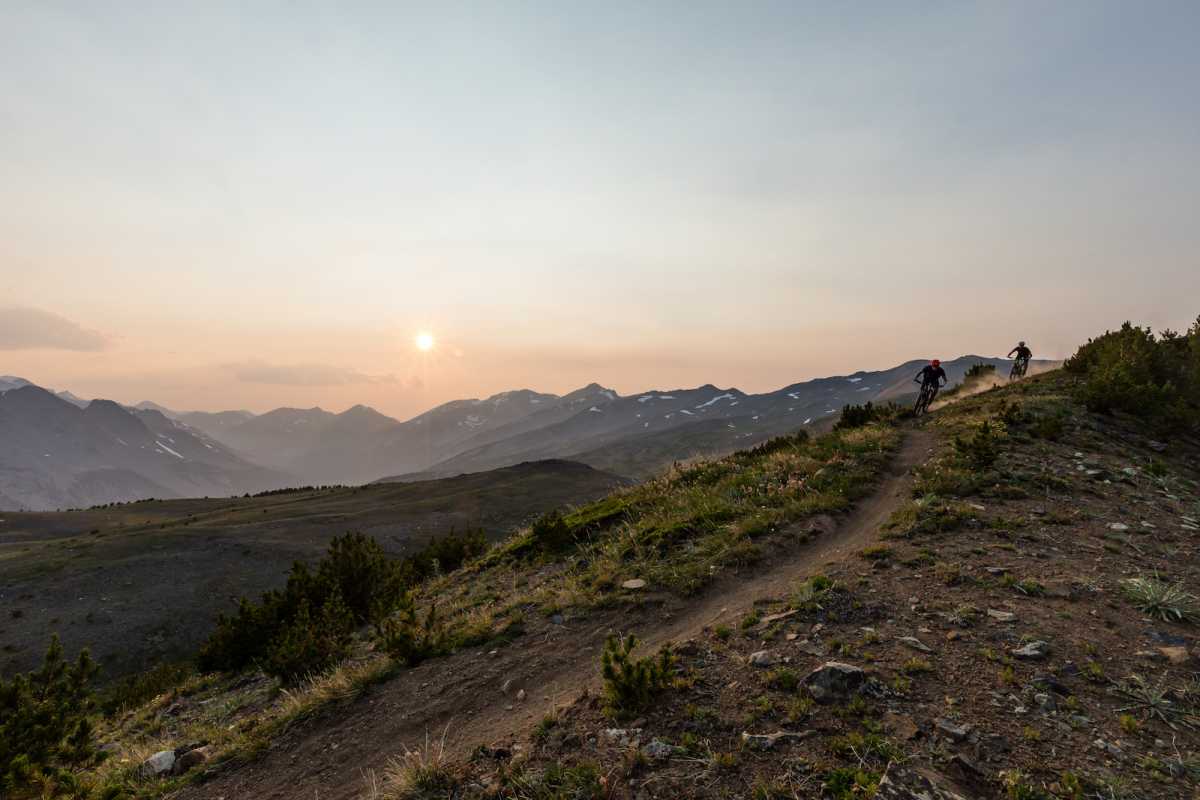
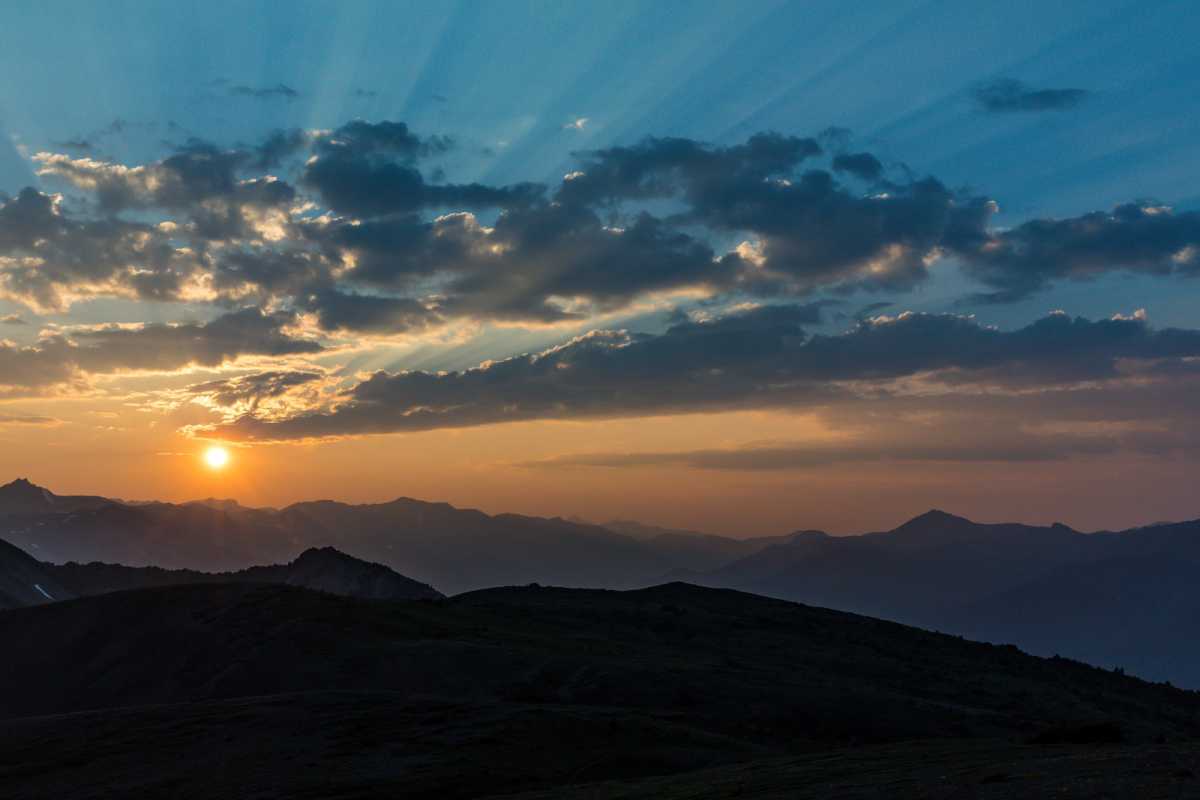
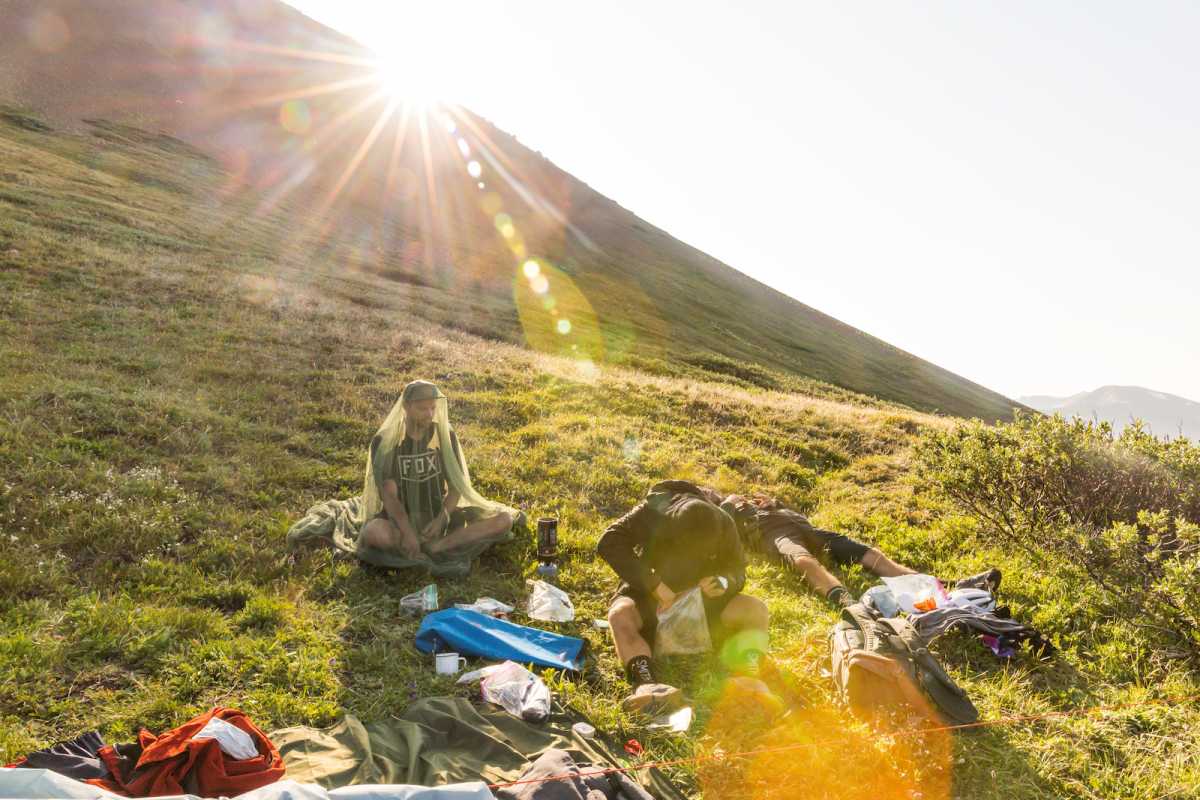
The final day of your ride starts with a push into the alpine, up High Trail to Windy Pass where you are treated to some stunning views. We highly recommend you get up early to try and catch sunrise on the west side of Windy Pass.
Backcountry Adventure - Chilcotins Day 3 on Trailforks.com
Kit Essentials
Bike: Spoke tool, tire plugs, tubes, and a patch kit as there are lots of sharp rocks/shale on the alpine trail segments, spare derailleur cable, quick link, small bottle of lube; you will be crossing lots of creeks, 1 spare set of brake pads, shock pump, quick ties and tape. Clothing: Puffy jacket, light shell, merino cycling jersey, 2x chamois, cycling shorts, tuque, long john bottoms, warm socks, neck buff, sunglasses, bug net, 18-22L backpack. Camping: Tarp (2m x 3m; 4 people can squeeze under it), groundsheet, rope and 6 tent pegs, sleeping bag (or not if you’re Mark Taylor), stove, 4 utensils, 4 cups, bear spray, South Chilcotins Provincial Park Trail map.First Aid: InReach or SPOT emergency tracker device, tourniquet, hemostatic gauze, occlusive bandage, foil blanket, tape, EpiPen, painkillers, water purifying tablets, diarrhea medication.
Bike Selection and Setup
Full disclosure, we ride for Specialized, so our bicycle selection is limited to their offerings.
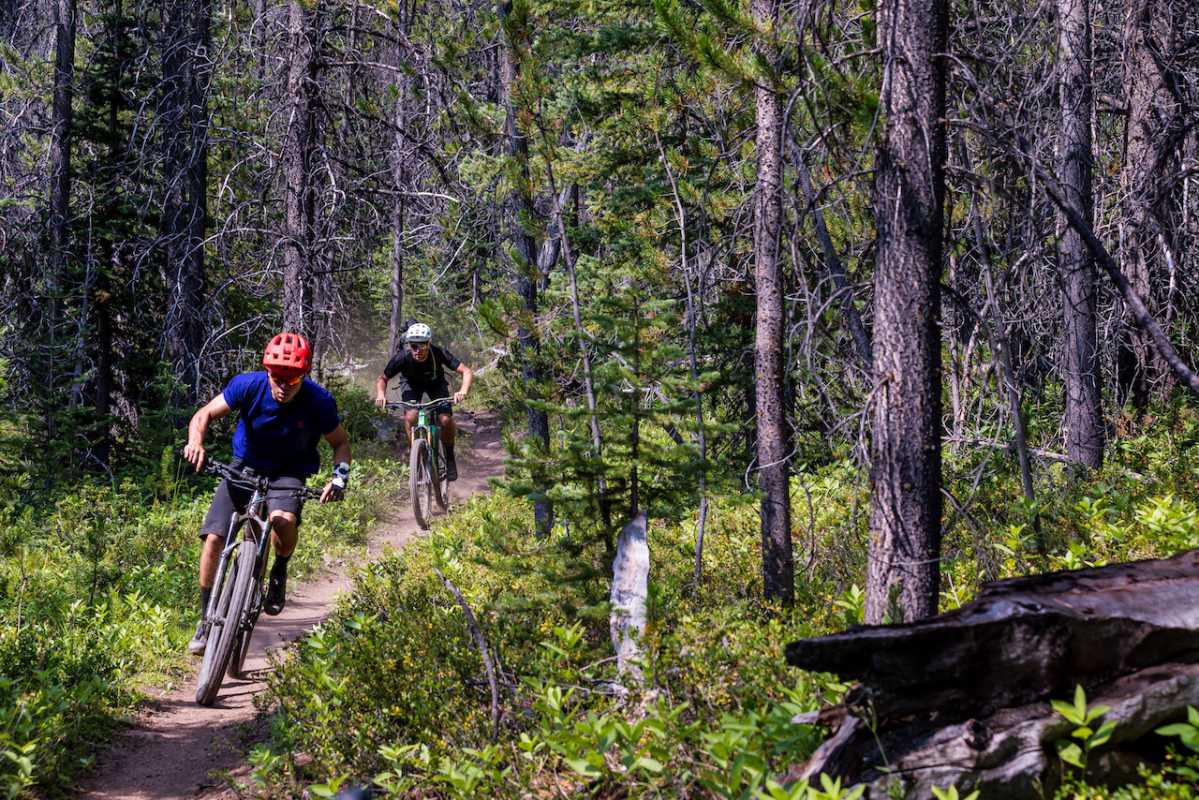
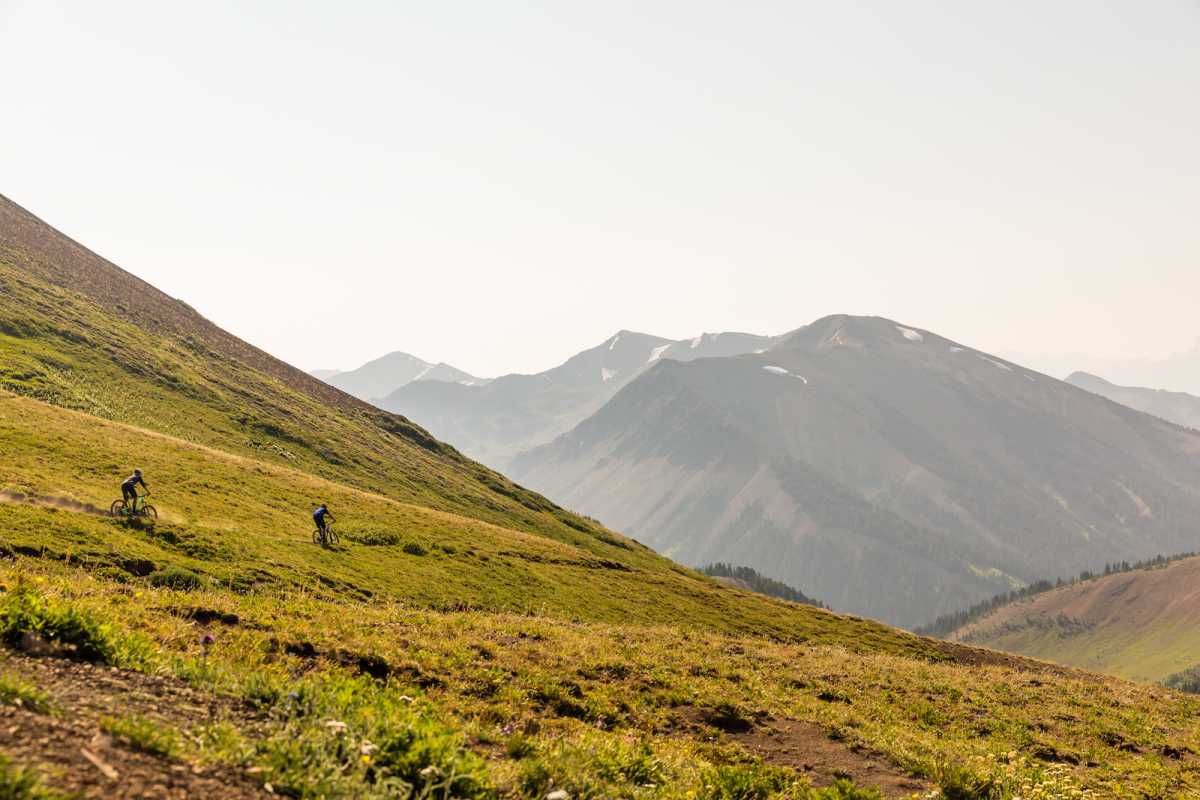
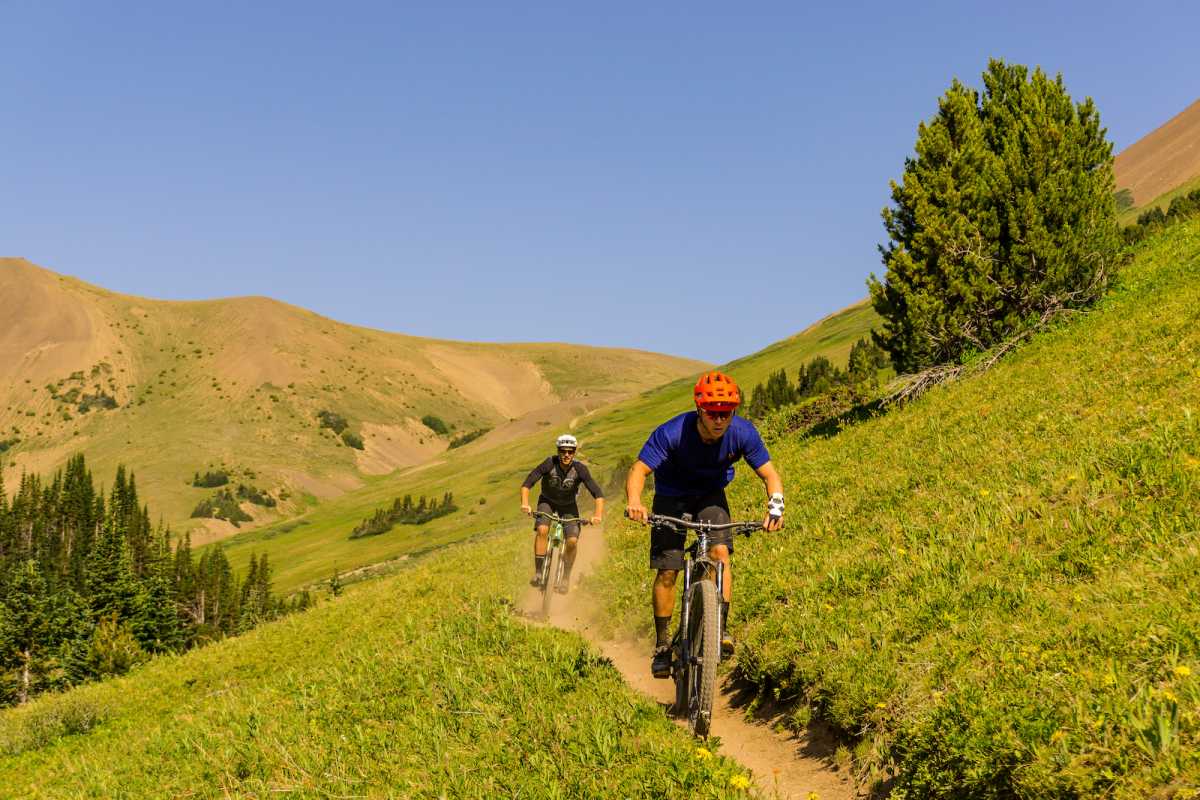
• If you have options, a shorter travel (100-140mm) 29er is ideal for this terrain. It is largely wide open and fast, with some punchy climbs and only a few technical descent sections.
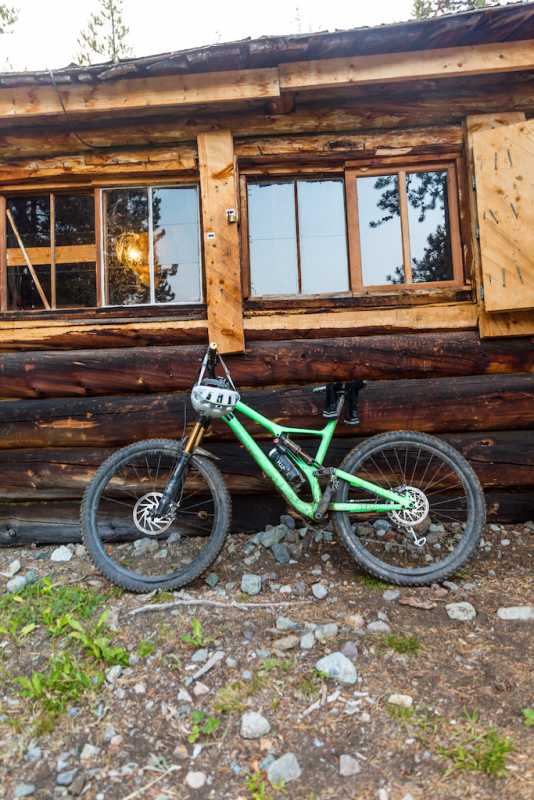
• We chose to ride our 2019 Specialized Stumpy 29er with a chunky Butcher up front and a fast rolling Purgatory out back. We ran our tyre pressure a bit higher than normal to improve rolling speed, 28psi up front and 30psi in the rear.
• Remember you are going to be carrying a bit more kit on your back than normal, you will want to adjust your sag settings accordingly before you go. After resetting your sag, we opted to run slightly softer compression settings as some of the meadow bombing is rough on the hands. Avoid putting your shock in full lockout to help fight off fatigue on the rougher traversing trail segments.
• SWAT box storage lets you keep a light shell, base layer and some extra snacks available for quick and easy access and helps keep your pack weight down. If you don’t have a SWAT box, sorry not sorry.
Food and Drink
When multi-day bike packing, you want to minimize the stuff you have to carry, to maximize your enjoyment riding, within reason. An easy way to reduce your pack weight every day is to coordinate a food drop with your air-taxi provider. Having your food dropped along your route does cost a bit extra, ~$150 CAD, but can easily give you more than $150 in added fun. Plus, if wildlife breaks into your food cache on night number one, you will be pretty hungry and grumpy for the rest of your trip. Having some of your food waiting in animal-proof containers later in the trip gives you the peace of mind that it will be there when you want it.
Breakfasts
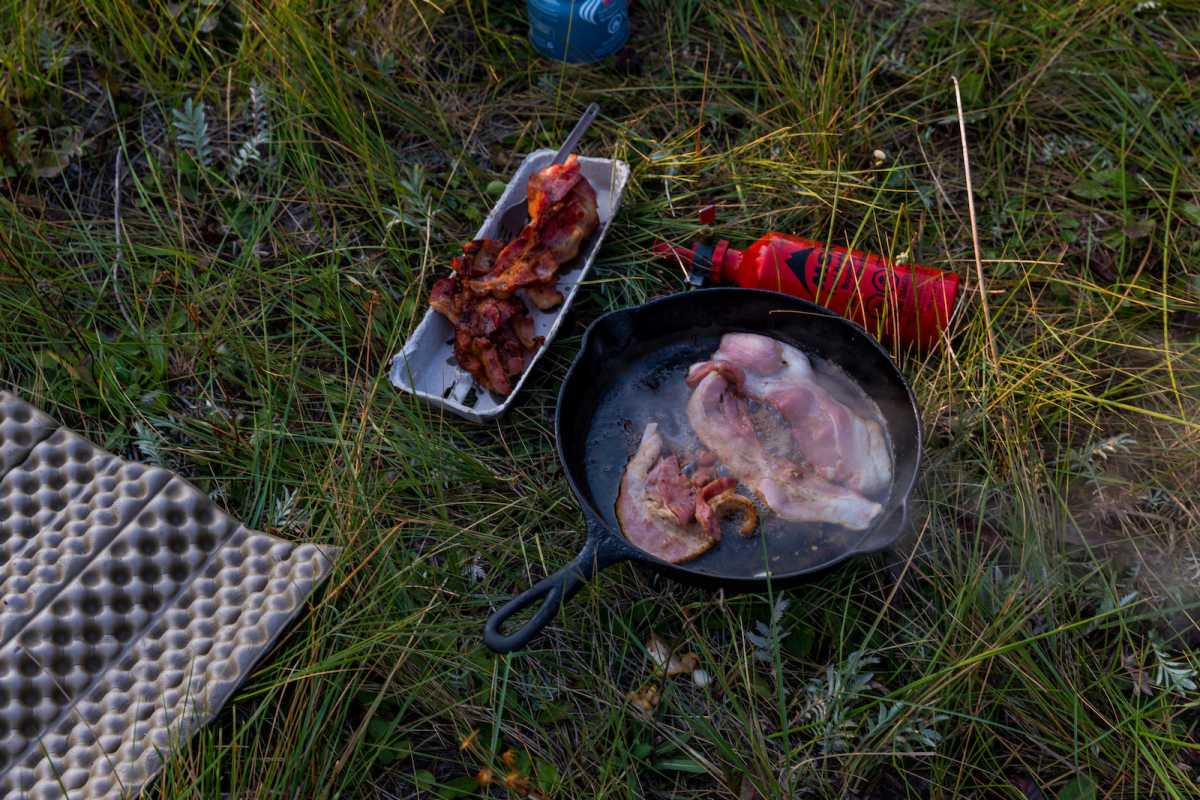
Fuel up the morning before your drop, this is going to be your last chance for an elaborate meal for a few days, so make it count. BELT (bacon, egg, lettuce, tomato) sandwiches are usually a fan favourite. Add some fried onions and potatoes if you are feeling really hungry.
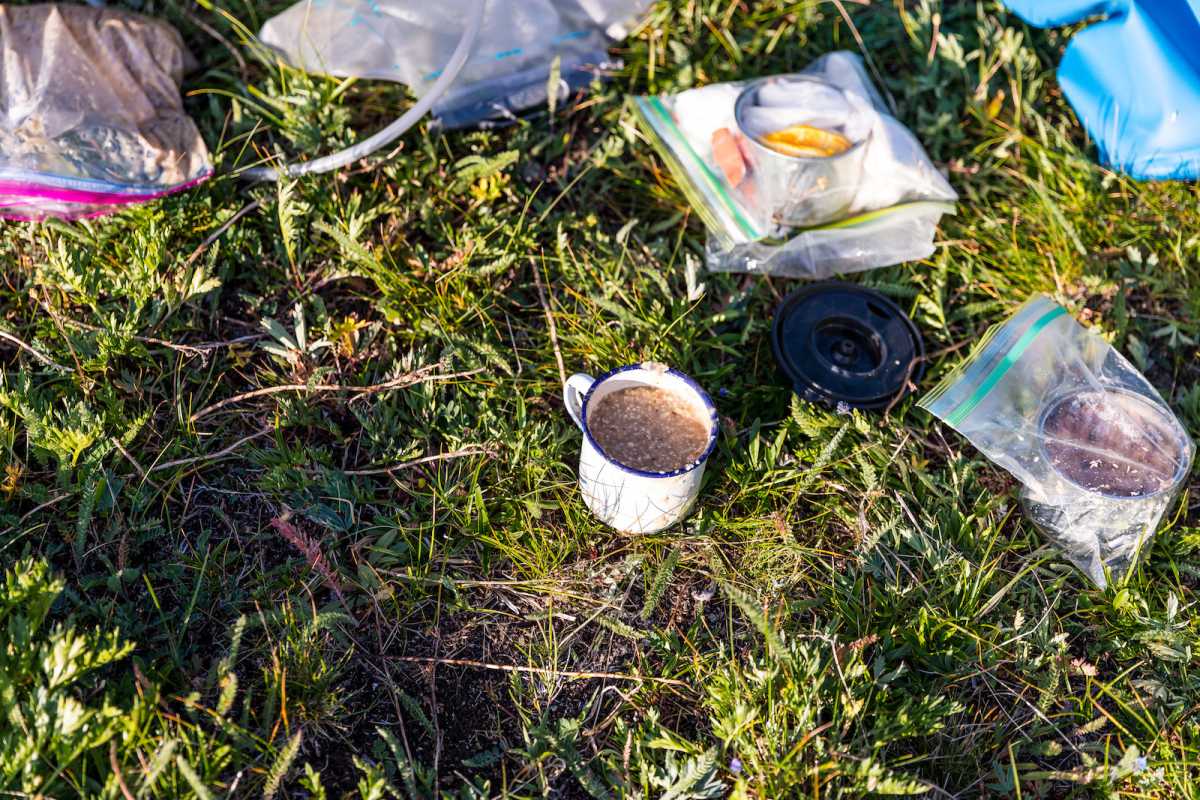
For breakfast in the backcountry, keep it simple stupid. Eating the same thing every day makes mornings move more quickly. Oh and so does instant coffee, leave the aero-press and grounds at home for the weekend, this cuts down on your waste, clean up time, and gets everyone caffeinated quickly.
Hearty AF Porridge
1.5 cups quick cook oats 1 cup hemp hearts 1 cup raisins or other dried fruit ½ cup brown sugar 1 tbsp cinnamon
1. Boil 2 cups of water, add quick cook oats and let simmer for 2-3 minutes, or until cooked. 2. Combine all other ingredients in a large bowl or ziploc bag. 3. Add to cooked oats, stir to combine. 4. Eat.
Snacks/Lunch
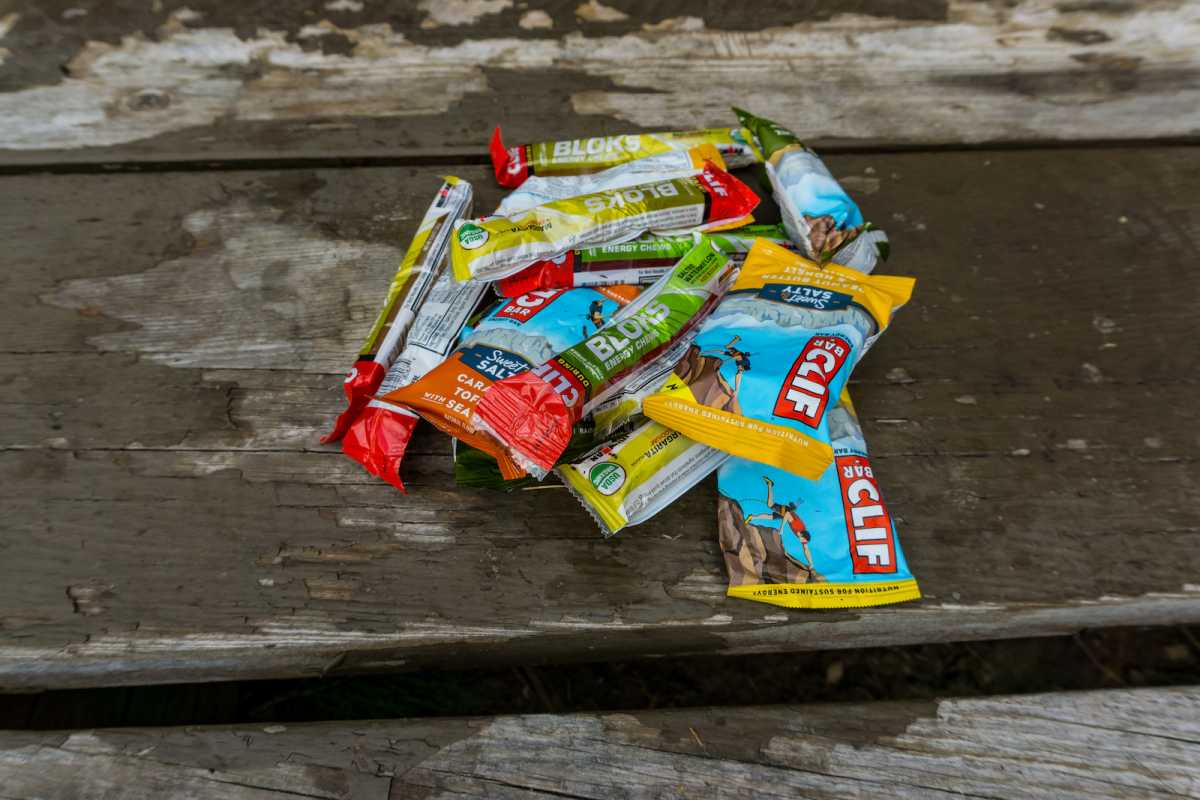
It is super easy to forget to eat when you are busy taking in the endless vistas and blasting alpine singletrack, we totally forgot to on day one. Don’t do that, you might bonk. We budgeted 5 Clif Bars and 5 Clif Shot Bloks per person per day, which is roughly 2250 calories.
Dinner
Outdoor supply stores like MEC, Escape Route and REI have lots of freeze dried backpackers meal options if you are feeling lazy. We would recommend MEC in North Vancouver for their extensive selection, but those meals are spendy and kinda suck, especially by day three. So here are three quick and easy dinner meals you can prepare in the backcountry. Each meal is designed to feed four.
Dinner 1 – Couscous with Smoked Salmon a la Nate Hills
A few years ago, our buddy Nate Hills spent 9 days bike-packing in the Bolivian Andes with some crazy friends of his. Before going on our trip, we asked him what we should eat and he sent me a list of food items, we took some creative liberties and turned it into this recipe.
2 cups couscous ½ cup freeze-dried vegetables 1 400g package Smoked Salmon salt pepper ½ cup olive oil* 2 tbsp fresh dill, chopped ahead of time *Nate says, don’t skimp on the olive oil, it is super calorie dense.
1. Boil 2 cups of water, then add to couscous and cover for 10 minutes, fluff with a fork. 2. Boil another 1.5 cups of water and add freeze dried vegetables, simmer until rehydrated. 3. Combine couscous, vegetables, dill, smoked salmon, oil, salt and pepper in a bowl or big Ziploc bag. 4. Eat.
Dinner 2 – Tuna Peas and Rice
1 cup of quick cook rice 1 cup freeze dried peas 2 vegetable bouillon cubes 2 tins of solid tuna in oil (~600g of tuna), use the oil salt Pepper
1. Boil 2 cups of water with vegetable bouillon then add rice and simmer for 2 minutes or until cooked. 2. Boil another 1.5 cups of water and add freeze-dried peas, simmer until rehydrated. 3. Combine rice, peas, tuna, oil, salt and pepper in a bowl or big Ziploc bag. 4. Eat. Remember to wash and scrub out your tuna cans really well to help keep the bears at bay.
If you thought this article was half decent, and maybe even learned something, checkout the other installments of MTBBC’s Sea-to-Sky Trip Set where we will give you some intel on our favourite Frontcountry Adventure rides in the corridor. Not so keen on these longer rides we have been showcasing and looking for something with less of a time commitment? Check out the First Time Visitor and Frequent Visitor/Resident trip sets.
This article series will provide you with the knowledge to complete a host of different trip types all within or near the Sea-to-Sky corridor where the ultimate bike trip is mapped in single track.
The First Time Visitor. This is your maiden trip the Sea-to-Sky, you have been dreaming of this get-away for the last few years and it is finally being realized! But, you are overwhelmed; there are too many rad photos, Internet videos and trails on Trailforks, for you to choose where you want to go and what you should ride. This guide is designed to help focus your energy on some classic rides with a mix of our local favourites.
Frequent Visitor or Resident. You come to the Sea-to-Sky regularly to ride, maybe once or twice a year, for the last few years, or you live here and are stuck in your bubble. You have hit most of the classics, ridden the bike park and are looking for something fresh. We live here, and we get it, check out this article if you need to spice up your life.
Frontcountry Adventure Seeker. You are an experienced to expert level rider looking for an adventure and longer some rides. You may live in the Greater Vancouver area and are looking for a new experience in your backyard. Advanced logistical planning, and trail self-sufficiency are required. Backcountry experience is recommended.
Massive high fives to John Entwistle for making us look good and big ups to Dave Kenworthy for slogging it out.